Learn how to install Certificate Authority server on Rocky Linux 9 with our comprehensive guide. Secure your network and enable encrypted communication efficiently with step-by-step instructions and best practices. #centlinux #linux #cryptography
Table of Contents
What is a Certificate Authority Server?
Certificate Authority Server or CA Server is like a digital security guard for the internet. It issues SSL/TLS digital certificates, which are virtual ID cards for websites or online services. These certificates verify the identity of the website and help create a secure connection between your device and the website, ensuring that your information stays safe during online communication.
Common Certificate Authority software includes:
- Let’s Encrypt: This is a widely used and free certificate authority that helps websites secure their connections.
- DigiCert: A well-known commercial CA Server that provides SSL and other digital certificates to enhance online security.
- Entrust Datacard: This Certificate Authority offers various digital security solutions, including certificates for websites and online transactions.
- Comodo CA: Another provider that offers digital certificates and cybersecurity solutions to protect online communications.
Using a Certificate Authority is essential to maintain a secure and trustworthy online environment.

What does a Certificate Authority do?
A Certificate Authority (CA) is responsible for issuing digital certificates that authenticate the identity of entities on a network. These certificates are used to establish secure communication channels by encrypting data transmitted over the internet. Additionally, CAs verify the legitimacy of websites and ensure that data exchanges between parties are protected from unauthorized access or tampering.
What is Dogtag Certificate System?
Dogtag Certificate System, commonly referred to as Dogtag CA, is an open-source Certificate Authority software suite. It provides a set of services for managing and issuing digital certificates within an enterprise or organization. The Dogtag Certificate System is designed to meet the security and certificate management needs of large-scale deployments.
Key features of Dogtag CA include:
- Certificate Management: It facilitates the issuance, renewal, and revocation of digital certificates, which are crucial for establishing secure communication channels.
- Key Pair Generation: The system can generate and manage cryptographic key pairs used in the creation of digital certificates.
- LDAP Integration: Dogtag CA often integrates with LDAP (Lightweight Directory Access Protocol) for efficient and scalable directory services.
- Smart Card Support: It supports the use of smart cards for enhanced security in authentication and certificate management.
- Public Key Infrastructure (PKI): Dogtag CA is part of a PKI, which is a framework that manages digital keys and certificates.
Dogtag Certificate System is commonly used in enterprise environments where a robust and secure certificate management system is required. It’s particularly well-suited for organizations that need to manage a large number of digital certificates and ensure the integrity and confidentiality of their communication channels. The open-source nature of Dogtag CA allows for flexibility and customization to meet specific organizational requirements.
Boost your Linux skills with the “Linux Command Line Basics” by Ahmed Alkabary—a perfect course for beginners who want to master the command line efficiently. Whether you’re aiming for a career in system administration, DevOps, or just want to manage your Linux systems like a pro, this course covers everything from essential commands to practical exercises.
Start learning at your own pace and transform the way you interact with Linux today. [Enroll here] to get started instantly!
Disclaimer: This post contains affiliate links. If you purchase through these links, I may earn a small commission at no extra cost to you. Your support helps me continue sharing helpful tech content.
Environment Specification
We are using a minimal Rocky Linux 9 virtual machine with following specifications.
- CPU – 3.4 Ghz (2 cores)
- Memory – 4 GB
- Storage – 40 GB
- Operating System – Rocky Linux release 9.2 (Blue Onyx)
- Hostname – ca-server.centlinux.com
- IP Address – 192.168.18.83/24
If you want to practice setting up a Certificate Authority server on Rocky Linux 9, you can either use a Mini PC for a dedicated home lab or go for a reliable Bluehost VPS that offers scalability, uptime, and remote accessibility. A Mini PC is a cost-effective option if you prefer hands-on learning with local hardware, while a Bluehost VPS ensures that your CA server is always available from anywhere, making it a great choice for real-world deployments and testing.
Disclaimer: This post contains affiliate links. If you make a purchase through these links, I may earn a small commission at no extra cost to you.
Prepare your Certificate Authority Server
Login to your Rocky Linux Server as a privileged user by using any ssh client.
Set hostname for your Linux machine and configure local DNS resolution as follows.
hostnamectl set-hostname ca-server.centlinux.com
echo 192.168.18.83 ca-server ca-server.centlinux.com >> /etc/hosts
To install Dogtag CA, you must increase the maximum number of file descriptors that your system can open at a time.
vi /etc/security/limits.confAdd following lines in this file.
# Dogtag CA Settings
root hard nofile 4096
root soft nofile 4096
Update Linux software packages by executing following command.
dnf update -yThe above command may also update software packages related to Linux Kernel. In such case, reboot your Linux machine before moving forward.
rebootCheck the Linux OS & Linux Kernel versions.
cat /etc/os-release | grep PRETTY_NAME
uname -r
Output:
PRETTY_NAME="Rocky Linux 9.2 (Blue Onyx)"
5.14.0-284.30.1.el9_2.x86_64
Install Certificate Authority Server: Dogtag CA
Dogtag certificate server requires LDAP database for storing certificate and user information. Therefore, you should install LDAP server along with your Certificate Authority software.
dnf install -y 389-ds-base pki-caCreate a file ~/instance.cfg to configure LDAP Directory Server (DS) instance.
vi ~/instance.cfgAdd following lines in this file.
[general]
config_version = 2

[slapd]
root_password = Ahmer@1234

[backend-userroot]
sample_entries = yes
suffix = dc=ca-server,dc=centlinux,dc=com
You can now use dscreate command with instance.cfg file to create directory server instance.
dscreate from-file ~/instance.cfgOutput:
Starting installation ...
Validate installation settings ...
Create file system structures ...
Create self-signed certificate database ...
Perform SELinux labeling ...
Create database backend: dc=ca-server,dc=centlinux,dc=com ...
Perform post-installation tasks ...
Completed installation for instance: slapd-localhost
Execute pkispawn command to create your Certificate Authority Server.
pkispawnOutput:
IMPORTANT:

    Interactive installation currently only exists for very basic deployments!

    For example, deployments intent upon using advanced features such as:

        * Cloning,
        * Elliptic Curve Cryptography (ECC),
        * External CA,
        * Hardware Security Module (HSM),
        * Subordinate CA,
        * etc.,

    must provide the necessary override parameters in a separate
    configuration file.

    Run 'man pkispawn' for details.

Subsystem (CA/KRA/OCSP/TKS/TPS) [CA]:

Tomcat:
  Instance [pki-tomcat]:
  HTTP port [8080]:
  Secure HTTP port [8443]:
  AJP port [8009]:
  Management port [8005]:

Administrator:
  Username [caadmin]:
  Password:
  Verify password:
  Import certificate (Yes/No) [N]?
  Export certificate to [/root/.dogtag/pki-tomcat/ca_admin.cert]:

Directory Server:
  Hostname [ca-server.centlinux.com]:
  Use a secure LDAPS connection (Yes/No/Quit) [N]?
  LDAP Port [389]:
  Bind DN [cn=Directory Manager]:
  Password:
  Base DN [o=pki-tomcat-CA]:

Security Domain:
  Name [ca-server.centlinux.com Security Domain]:

Begin installation (Yes/No/Quit)? Yes

Installing CA into /var/lib/pki/pki-tomcat.

    ==========================================================================
                                INSTALLATION SUMMARY
    ==========================================================================

      Administrator's username:             caadmin
      Administrator's PKCS #12 file:
            /root/.dogtag/pki-tomcat/ca_admin_cert.p12

      To check the status of the subsystem:
            systemctl status pki-tomcatd@pki-tomcat.service

      To restart the subsystem:
            systemctl restart pki-tomcatd@pki-tomcat.service

      The URL for the subsystem is:
            https://ca-server.centlinux.com:8443/ca

      PKI instances will be enabled upon system boot

    ==========================================================================
Enable pki-tomcatd.target, to ensure autostart of Dogtag service.
systemctl enable pki-tomcatd.targetOutput:
Created symlink /etc/systemd/system/multi-user.target.wants/pki-tomcatd.target → /usr/lib/systemd/system/pki-tomcatd.target.
Reboot your Rocky Linux machine.
rebootPost-installation Configuration
File instance.cfg contains the root password in plain text. Since this file is no longer required, therefore, premanently delete the this file by using shred command.
shred -u -z ~/instance.cfgDogtag web interface uses service port 8443/tcp. Therefore, to make your Certificate Authority server accessible across the network, you need to enable this port in your Linux Firewall.
firewall-cmd --permanent --add-port=8443/tcp
firewall-cmd --reload
Open URL https://ca-server.centlinux.com:8443/ in a web browser.
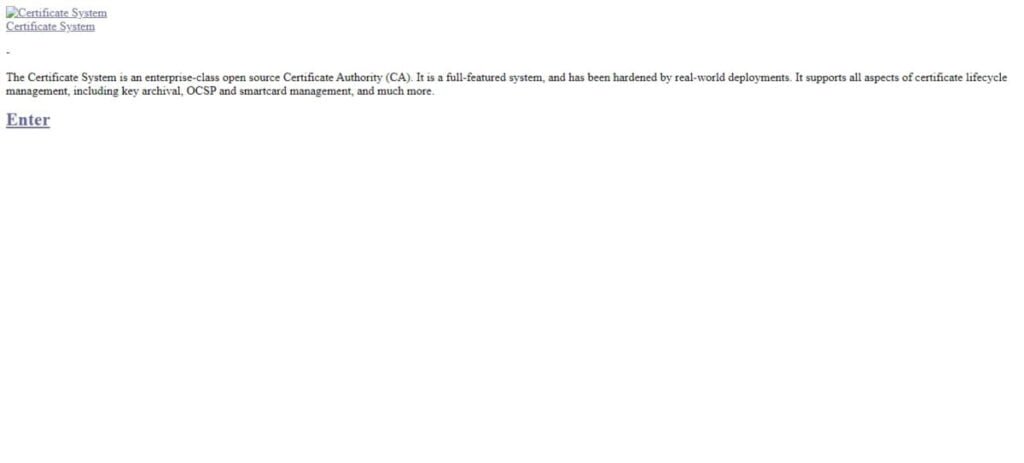
You will encounter a Certificate Warning in your Web Browser. It is because the SSL certificate of your CA server is self signed and your browser does not see your CA server as trusted.
Click on <ENTER>.
Click on <Certificate Authority>.
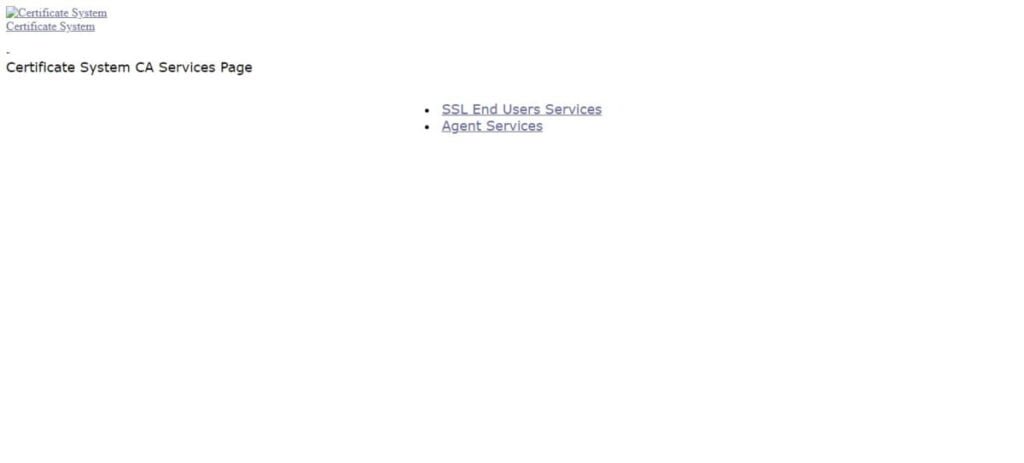
Click on <SSL End Users Services>.
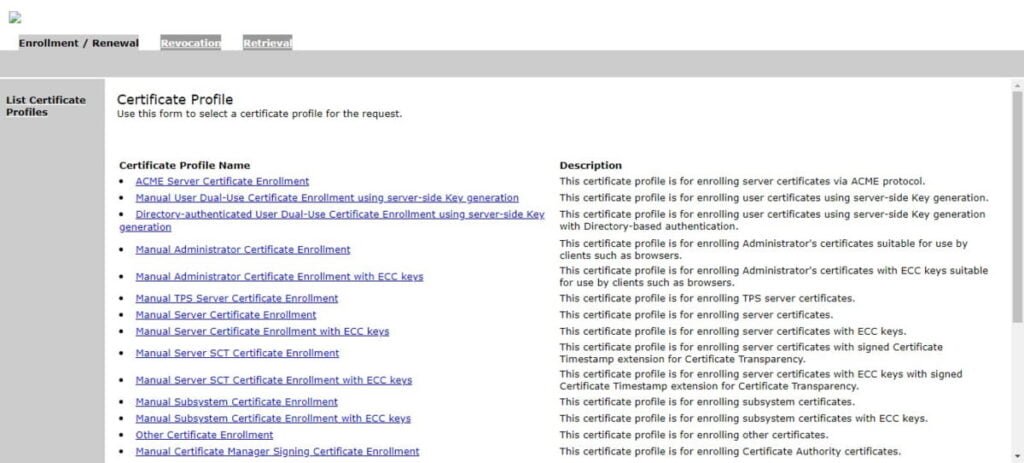
Due to the SSL certificate error, your web browser display warnings for SSL agent. To get rid of these warnings, you need to import your root CA certificate in your web browser.
If you are accessing Dogtag web interface from a Linux machine then you can install your root CA certificate by using scp command.
scp /root/.dogtag/pki-tomcat/ca_admin_cert.p12 ahmer@web-01.centlinux.com:For windows machine, you can use an sftp client to install root CA certificate to your client. Or in Windows 11, you can use pscp native command to do the same.
pscp root@ca-server:/root/.dogtag/pki-tomcat/ca_admin_cert.p12 .You can now import root CA certificate in your web browser.
Refresh the Dogtag web interface.
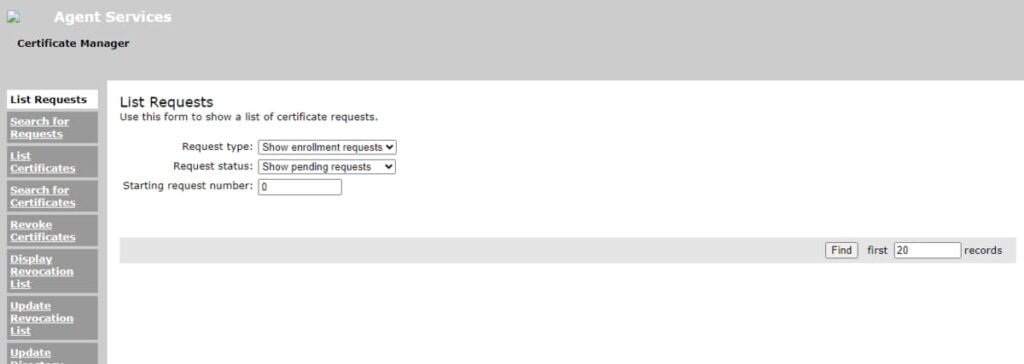
Your free Certificate Authority Server has been configured successfully.
Read Also: Setup Certificate Authority Server in CentOS 7
Video Tutorial: How to install Dogtag on Linux
Final Thoughts
Install Certificate Authority server on Rocky Linux 9, is a crucial step in enhancing the security of your network infrastructure. By setting up a CA, you can issue digital certificates that authenticate the identities of entities and enable encrypted communication, safeguarding sensitive data from potential threats. Understanding the role of SSL/TLS protocols in securing communication further solidifies the importance of implementing robust encryption measures. With careful planning and adherence to best practices, you can establish a strong foundation for secure network communication, ensuring the confidentiality, integrity, and authenticity of data exchanged across your network.
Struggling with AWS or Linux server issues? I specialize in configuration, troubleshooting, and security to keep your systems performing at their best. Check out my Freelancer profile for details.
Frequently Asked Questions (FAQ)
Q1. What is a Certificate Authority (CA) server in Rocky Linux 9?
A Certificate Authority (CA) server in Rocky Linux 9 is a system that uses OpenSSL or similar tools to issue and manage digital certificates for secure communication within networks.
Q2. Why should I install a CA server on Rocky Linux 9?
Installing a CA server on Rocky Linux 9 allows you to generate and manage self-signed certificates for internal applications, testing environments, and private infrastructures without depending on external certificate providers.
Q3. Can a Rocky Linux CA server be used for public SSL certificates?
No. Certificates issued by a private Rocky Linux Certificate Authority are not trusted by default in web browsers. For public websites, you should use trusted providers like Let’s Encrypt or commercial SSL vendors.
Q4. How do I make clients trust my Rocky Linux CA root certificate?
You need to export the CA root certificate from your Rocky Linux server and import it into the trusted certificate store of client devices, applications, or web browsers.
Q5. Are there easier alternatives to setting up a Rocky Linux Certificate Authority?
Yes. You can use automated tools like Let’s Encrypt for public domains or enterprise-grade solutions such as FreeIPA on Rocky Linux for centralized certificate management.


Leave a Reply
You must be logged in to post a comment.