Follow our comprehensive guide for Rocky Linux 9 minimal installation, complete with detailed screenshots. Perfect for setting up a streamlined and efficient server environment. #centlinux #linux #rockylinux
Table of Contents
What is Rocky Linux?
Rocky Linux is a Linux distribution developed by Rocky Enterprise Software Foundation. It is intended to be a downstream, complete binary-compatible release using the Red Hat Enterprise Linux (RHEL) operating system source code. The project’s aim is to provide a community-supported, production-grade enterprise operating system. Rocky Linux, along with Red Hat Enterprise Linux and SUSE Linux Enterprise, has become popular for enterprise operating system use.
Rocky Linux 9.0, the latest version of the open source enterprise operating system designed to be fully bug-for-bug compatible with Red Hat Enterprise Linux (RHEL), is now generally available. The update includes new security and networking features, and a new open source build system called Peridot.
Released on 14 July 2022, Rocky Linux 9.0 has all of the build chain infrastructure tools for developers to pick up Rocky Linux or extend or reproduce the Operating system, should a developer want to do something independently of the community or any upstream supporting organization. A primary goal behind developing the new, cloud-native build system was assuring that new versions of Rocky can be released within one week of new RHEL version releases.
What’s new in Rocky Linux 9?
Some of the new features of Rocky Linux 9 are:
- Rocky Linux 9 will be supported until May 31st, 2032
- Ships with GNOME 40 as the default desktop environment
- XFS now supports Direct Access (DAX) operations
- NFS introduces the “eager write” mount option to help reduce latency
- Rocky Linux 9 has many of the latest runtimes and compilers, including GCC 11.2.1, LLVM (13.0.1), Rust (1.58.1), and Go (1.17.1)
- Python 3.9 will be supported for the entire lifecycle of Rocky Linux 9 and comes with many new features
- Node.js 16 include an upgrade to the V8 engine to version 9.2
- Ruby 3.0.3 provides several performance improvements, along with bug and security fixes
- Perl 5.32 provides bug fixes and enhancements, including Unicode version 13
- PHP 8.0 provides bug fixes and enhancements, including the use of structured metadata syntax
- Root user authentication with a password over SSH has been disabled by default
- OpenSSL 3.0 adds a provider concept, a new versioning scheme, and improved HTTPS
- The Cockpit web console has an improved performance metrics page that helps identify causes of high CPU, memory, disk, and network resource usage spikes.
Recommended Training: The Linux Command Line Bootcamp: Beginner To Power User from Colt Steele

System Requirements
With Rocky Linux 9.0, some older CPUs will not work well, or perhaps at all. The following architectures are considered minimum requirements for a successful install:
- AMD and Intel 64-bit architectures (x86-64-v2)
- The 64-bit ARM architecture (ARMv8.0-A)
- IBM Power Systems, Little Endian (POWER9)
- 64-bit IBM Z (z14)
Download Rocky Linux 9 Minimal ISO
Rocky Linux 9, being a free and open-source enterprise operating system, can be conveniently downloaded from its official website. The official site provides various ISO options for installation based on your specific requirements.
For this tutorial, it is recommended to download the Minimal ISO of Rocky Linux 9. The Minimal ISO is a lightweight version that contains the essential components required to set up a basic Rocky Linux environment. This option is particularly suitable for scenarios where you need a minimal installation and plan to install additional packages manually.
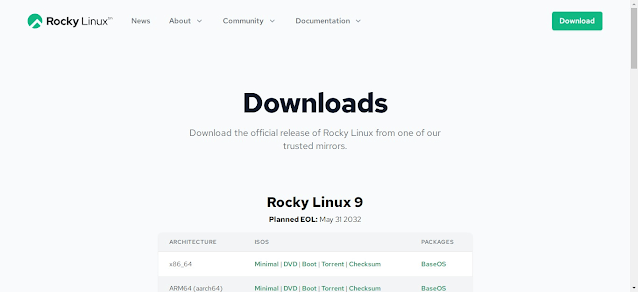
Downloading the Minimal ISO allows for greater flexibility and control, making it an ideal choice for creating custom server setups or environments with specific configurations.
How to use Rocky Linux 9 ISO
Once you have downloaded the Rocky Linux ISO file, there are two primary methods you can use to proceed with the installation, depending on your setup and requirements:
1. Burning the ISO to a DVD or USB Drive
- Use software such as Rufus, Etcher, or UNetbootin to create a bootable USB drive or burn the ISO onto a DVD.
- Once the bootable medium is ready, insert the DVD or USB drive into the server where you want to install Rocky Linux.
- Configure the server to boot from the chosen device (DVD or USB) via the BIOS or UEFI settings.
- This method is ideal for deploying Rocky Linux on physical servers in a data center.
2. Using the ISO Directly in a Virtual Environment
- If you are setting up Rocky Linux on a virtualization platform, such as VMware ESXi, VirtualBox, or Proxmox, you can skip creating a bootable device.
- Simply attach the downloaded ISO file as a virtual CD-ROM drive in the virtual machine configuration.
- Once attached, boot the virtual machine from the virtual CD-ROM to initiate the installation process.
- This approach is faster and more convenient for virtualized environments, as it eliminates the need for physical media.
Both methods are straightforward and allow you to begin the installation process efficiently, whether you are deploying Rocky Linux in a physical data center environment or within a virtualized infrastructure. Be sure to verify the integrity of the ISO file using the checksum provided on the Rocky Linux website before proceeding.
TP-Link Ultra-Portable Wi-Fi 6 AX1500 Travel Router TL-WR1502X | Easy Public WiFi Sharing | Hotel/RV/Travel Approved | Phone WiFi Tether | USB C Powered | Multi-Mode | Tether App | Durable Design
$49.99 (as of February 7, 2025 14:55 GMT +00:00 – More infoProduct prices and availability are accurate as of the date/time indicated and are subject to change. Any price and availability information displayed on [relevant Amazon Site(s), as applicable] at the time of purchase will apply to the purchase of this product.)Start Rocky Linux Installation
Start your server machine to initiate Rocky Linux installation.
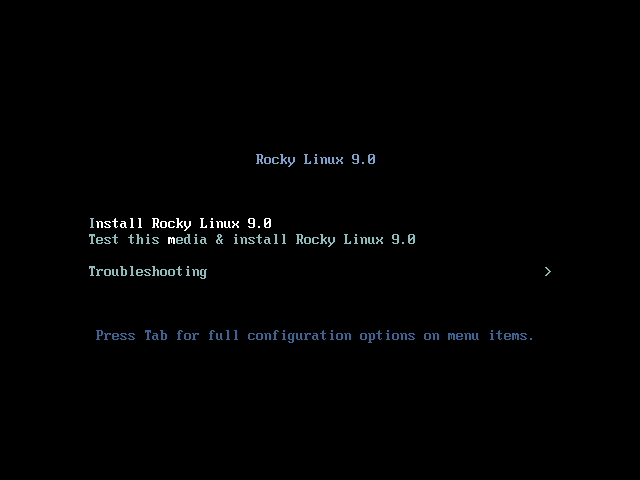
At the first menu after boot, Select “Install Rocky Linux 9” option and press <ENTER>.
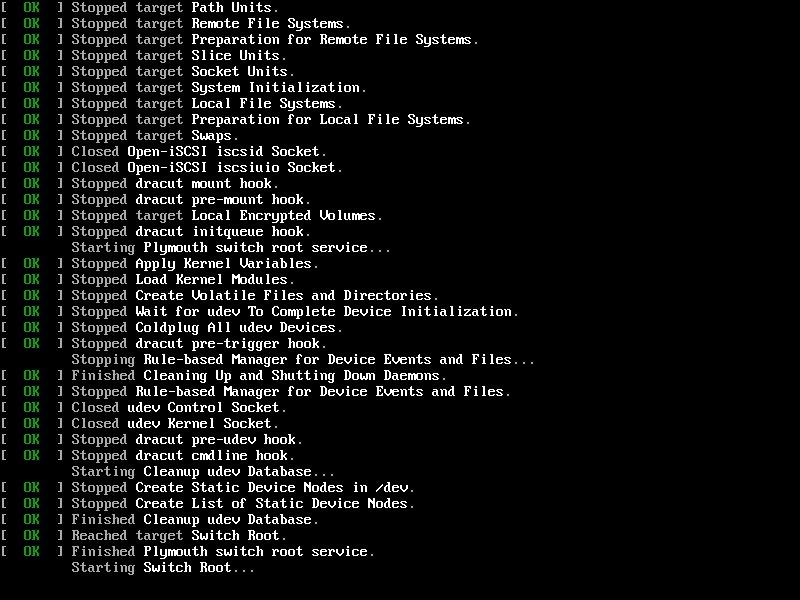
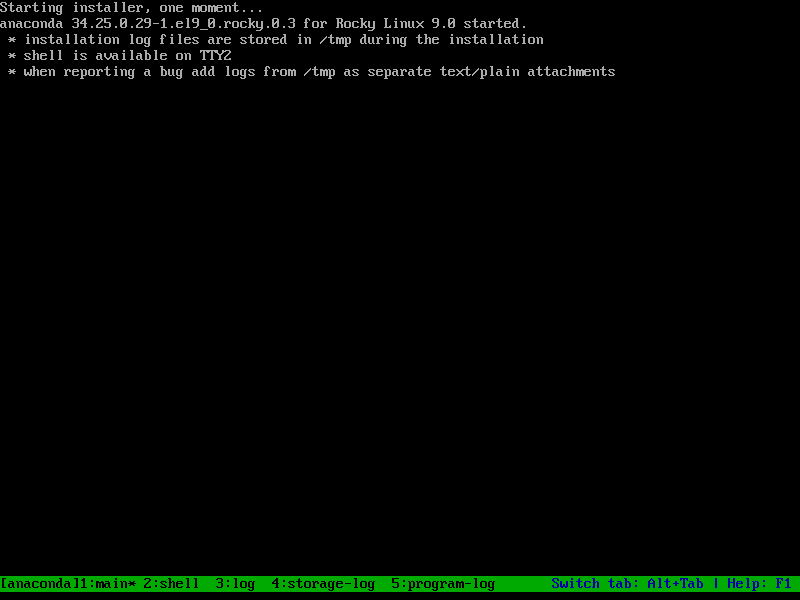
The Anaconda installer is starting now.
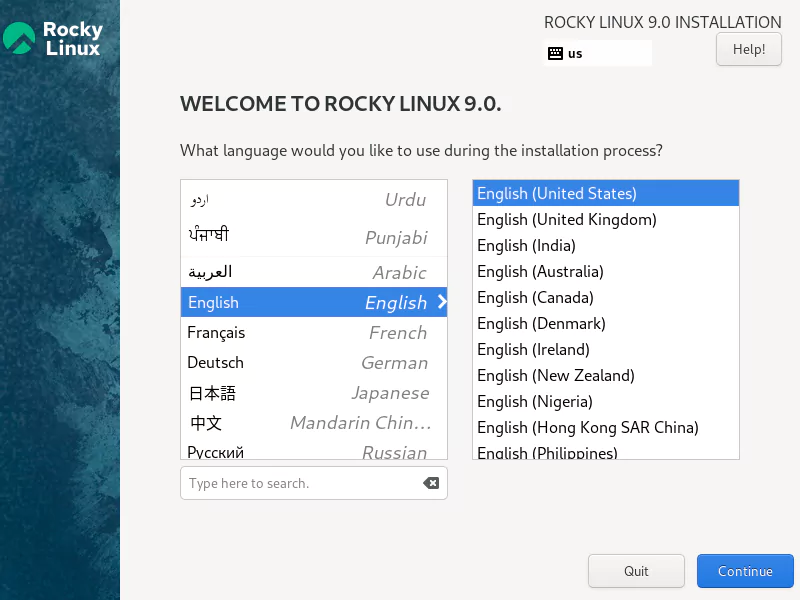
Select your preferred Language for installation process and click on “Continue”.
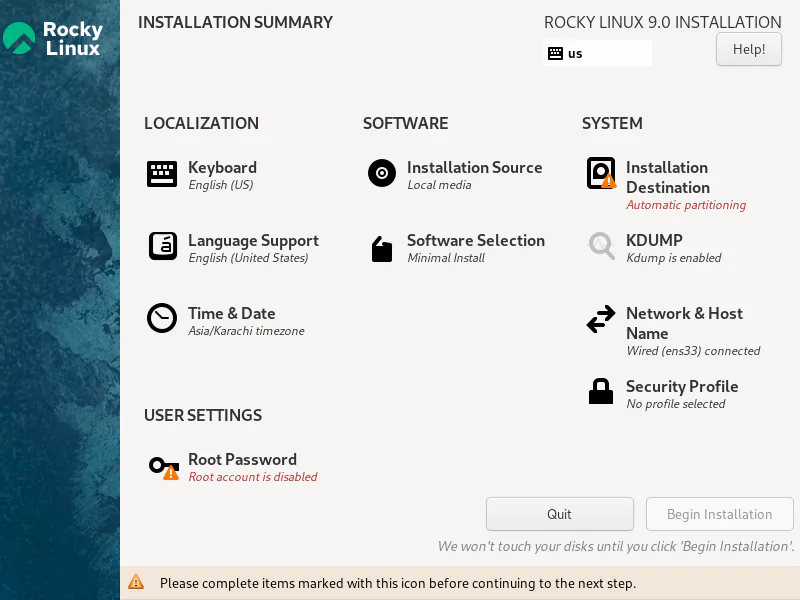
You are at the “Installation Summary” screen now. You can customize different settings of your Linux operating system installation from here.
Click on “Installation Destination” under “System” section, to create disk partitions.
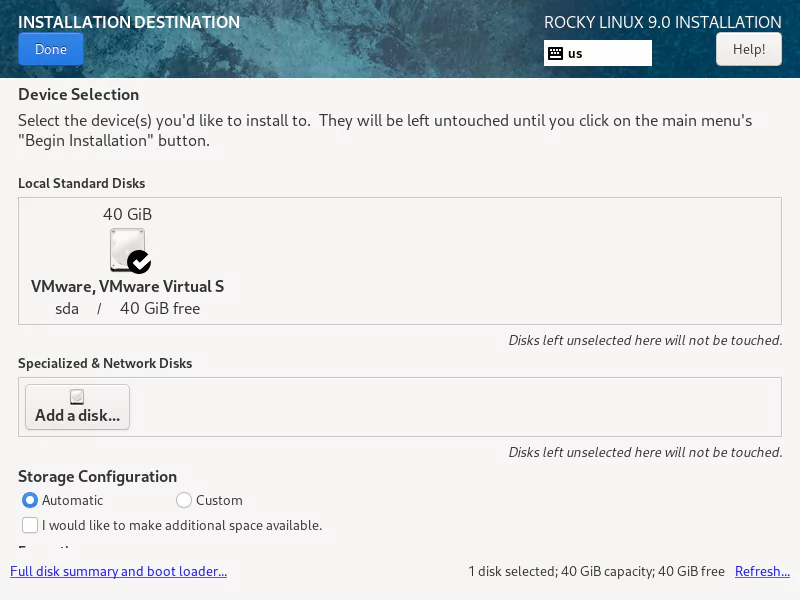
Here, you can customize your disk partitioning layout or Simply click on “Done” to accept and continue with the default Linux disk partitions according to the predefined template.
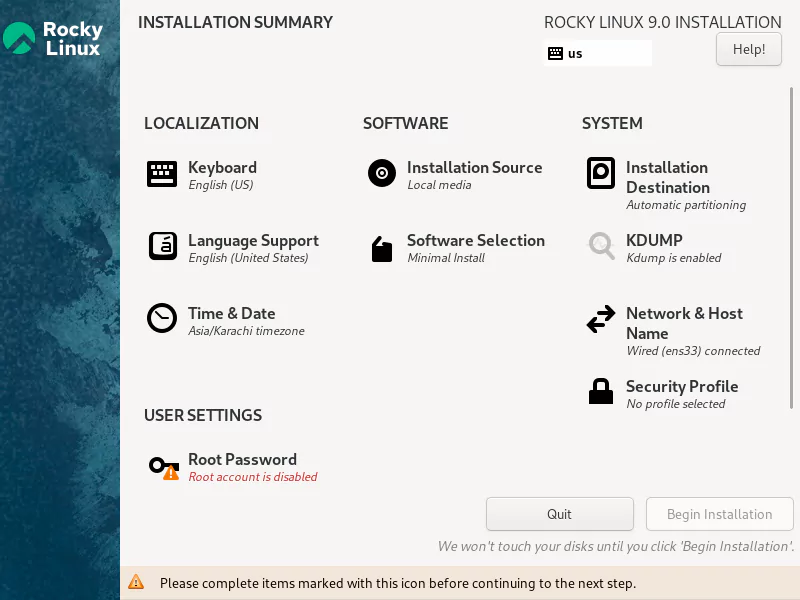
You are again at the “Installation Summary” screen.
Click on “Network and Host Name” to customize your network settings.
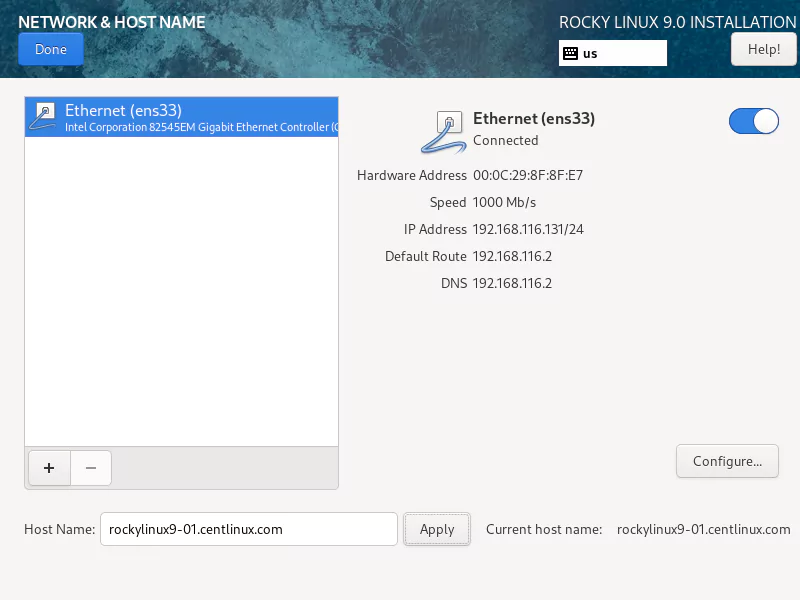
In Rocky Linux 9, the network interface is already configured to use DHCP.
You can see that, the IP address, DNS and gateway is already provided by your network DHCP server.
You just need to set a Host Name here.
Enter a Host Name for your Linux server and Click on “Apply”.
Click on “Done”, when you have completed your network configurations.
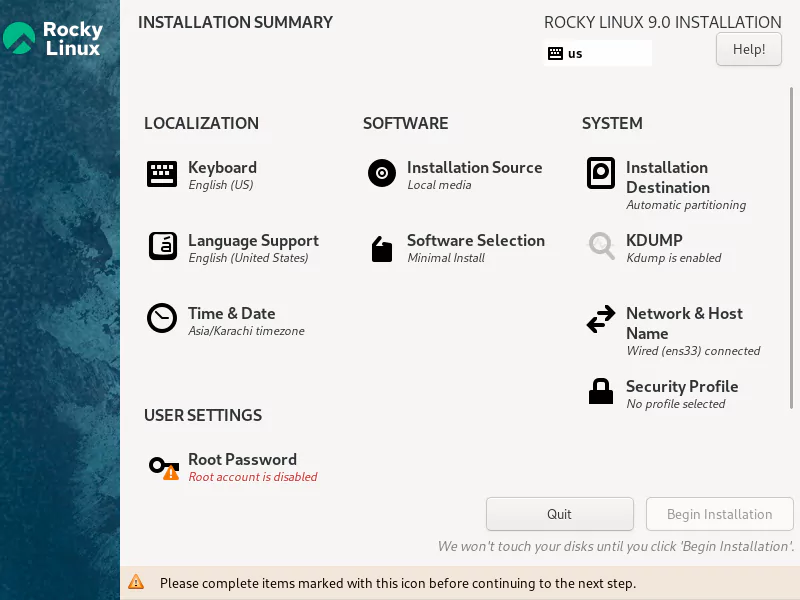
Click on “Time & Date” under “Localization” to set your required time zone.
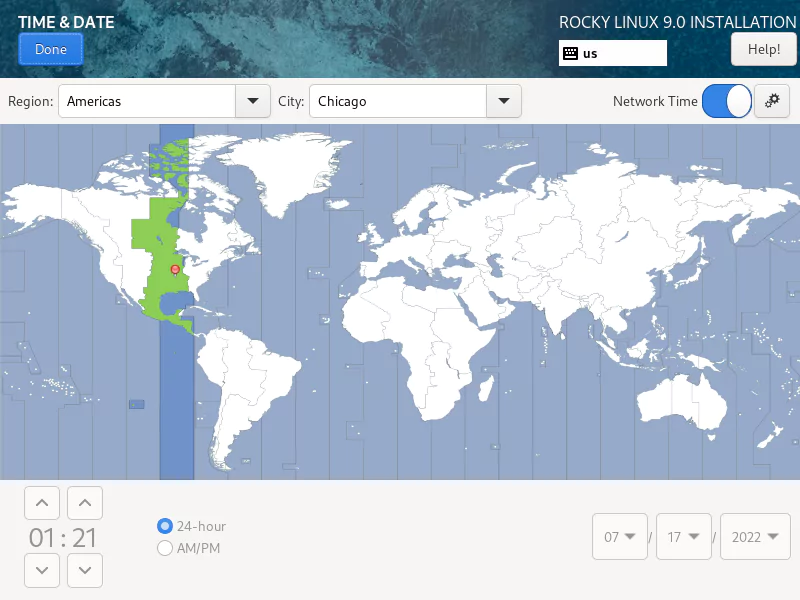
Choose your time zone and set the date and time now.
Click on “Done” after finishing your configurations.
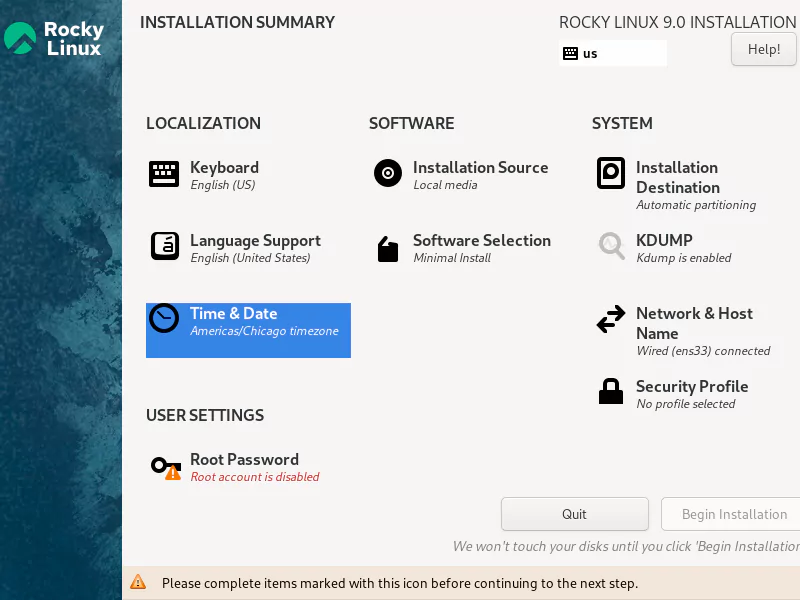
Under “User Settings”, click on “Root Password” to customize your Linux Super Admin account.
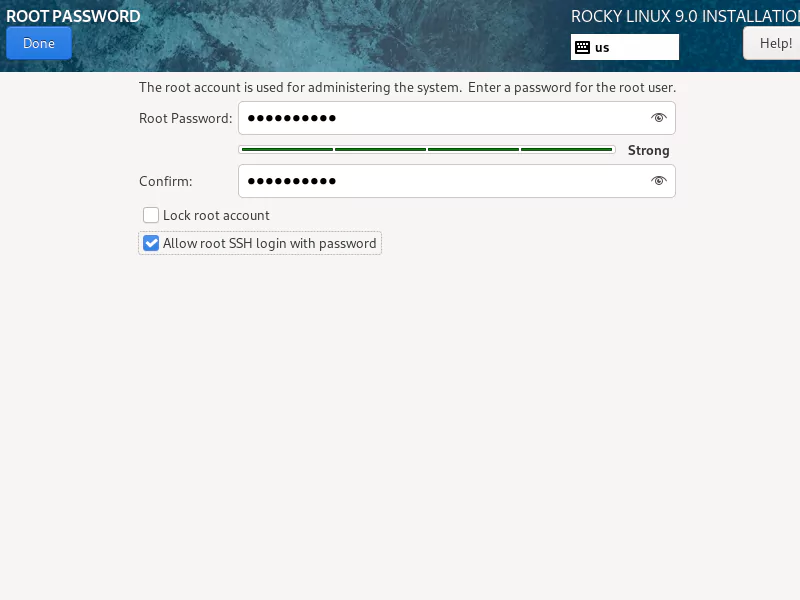
Set a very strong password for root user here.
Root SSH login with password is disabled by default in Rocky Linux 9.
However, you can enable it by setting the “Allow root SSH login with Password” option here.
Click on “Done”.
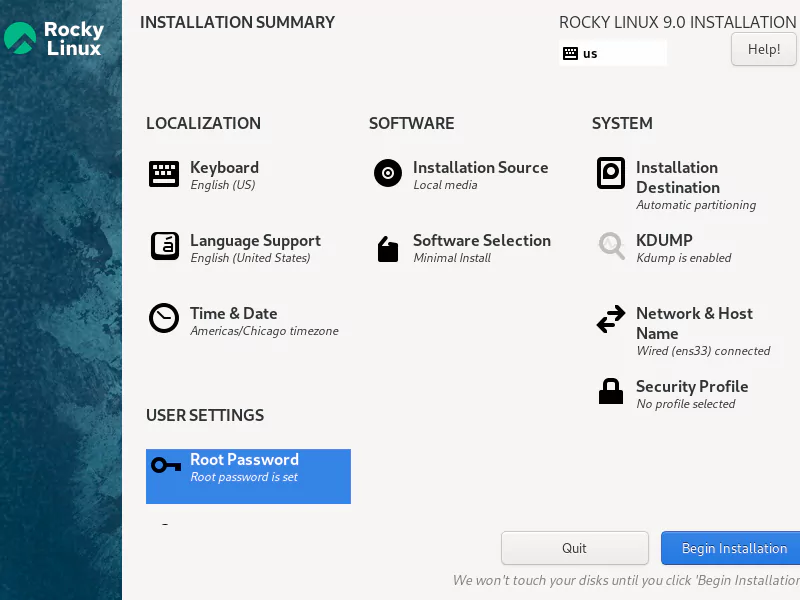
When you are done customizing your Linux Operating System installation, Click on “Begin Installation”.
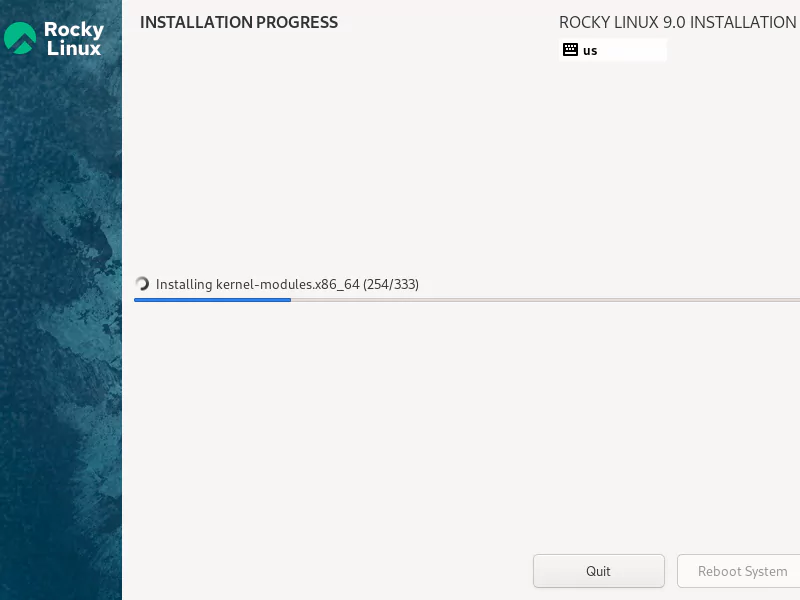
Installation is in progress now.
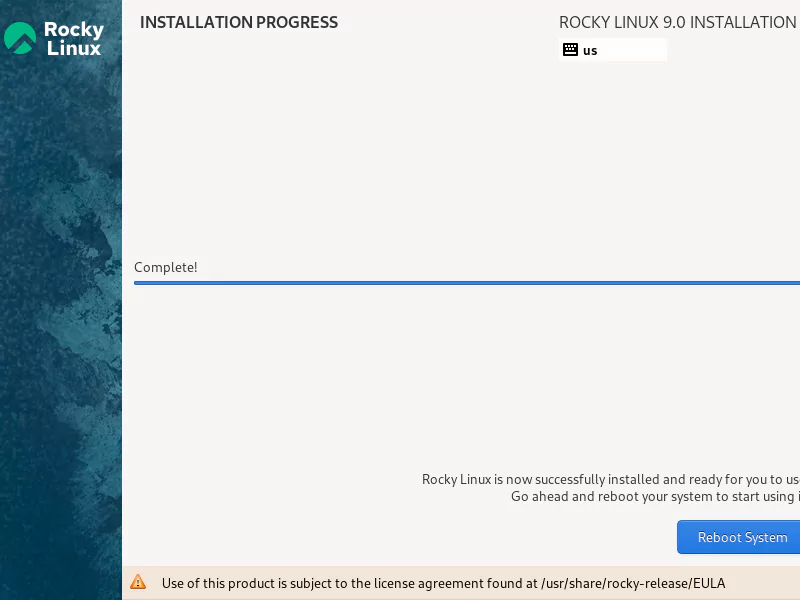
Since, you are performing a Rocky Linux 9 minimal server installation, therefore, it won’t take much time to complete.
Click on “Reboot System” to restart your Linux operating system.
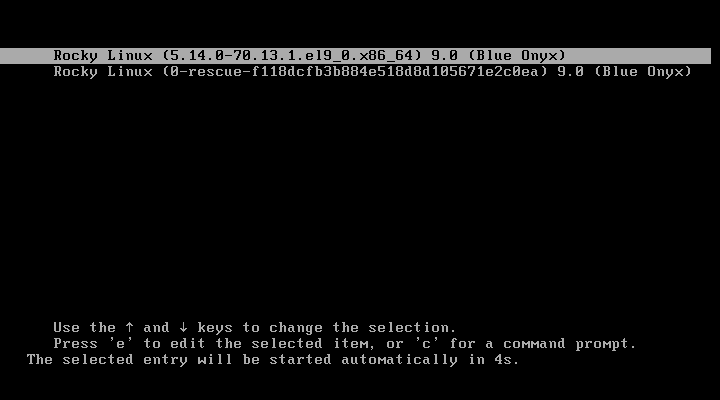
Press <ENTER> to start your Linux operating system.
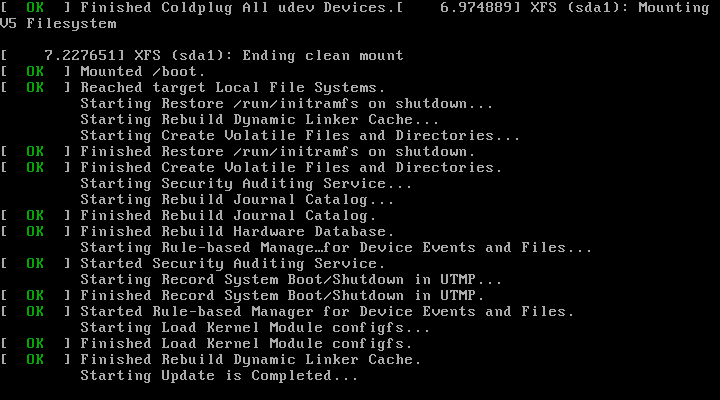
The system startup will take a few seconds and then take you to the Linux command line login prompt.

Your Linux server has been minimal installed successfully. Login as root user and start using it for your Data Center deployments.
Read Also:
Rocky Linux 8: Minimal Installation with Screenshots
CentOS 8: Minimal Installation with Screenshots
CompTIA Linux+ Certification Kit: Exam XK0-005
$50.80 (as of February 7, 2025 14:56 GMT +00:00 – More infoProduct prices and availability are accurate as of the date/time indicated and are subject to change. Any price and availability information displayed on [relevant Amazon Site(s), as applicable] at the time of purchase will apply to the purchase of this product.)Video of Rocky Linux 9 Minimal Installation
Final Thoughts
In this tutorial, we successfully completed the minimal installation of Rocky Linux 9, providing step-by-step guidance accompanied by detailed screenshots to ensure a seamless setup process. By following this guide, you’ve learned how to:
- Prepare your installation media or virtual CD-ROM for deploying Rocky Linux 9.
- Navigate through the installation process, including setting up partitions, configuring the network, and selecting the appropriate software packages.
- Complete the initial system setup and verify that your minimal installation is ready for use.
Rocky Linux 9 serves as a robust and reliable operating system, suitable for enterprise-grade workloads and personal projects alike. Its minimal installation ensures a lightweight and efficient environment, giving you the flexibility to install only the packages and services you require.
Whether you’re deploying in a physical or virtual environment, Rocky Linux 9’s stability and community-driven development make it an excellent choice for modern IT infrastructures. You are now ready to configure additional services, set up repositories, or customize the system further to suit your specific needs.
Feel free to explore the vast capabilities of Rocky Linux 9 and enjoy its performance and reliability in your projects.
Struggling with AWS or Linux server issues? I specialize in configuration, troubleshooting, and security to keep your systems performing at their best. Check out my Fiverr profile for details.


Leave a Reply
You must be logged in to post a comment.