Learn how to install Cockpit on CentOS 7 with our step-by-step guide. Simplify your server management by setting up Cockpit on your CentOS 7 server efficiently. #centlinux #linux #cockpit
Table of Contents
What is Cockpit?
Cockpit is a Red Hat sponsored free and open-source software project. Cockpit is a Web UI (User Interface) that facilitates management and monitoring of a Linux server through a web browser. Besides regular operating system related management tasks, it also provides support for Docker, Kubernetes and KVM. It is very easy to start containers, administer storage, configure networks, and inspect logs via Cockpit Web UI.
Cockpit is an open-source web-based server management tool designed to simplify the administration of Linux systems. It provides a user-friendly interface for managing various aspects of your server. Here are some key features and aspects of Cockpit:
Key Features of Cockpit
- Web-Based Interface:
- Provides an intuitive, browser-based interface for managing your Linux server.
- System Monitoring:
- Displays real-time system metrics such as CPU, memory, disk usage, and network activity.
- Service Management:
- Allows you to start, stop, enable, or disable system services.
- Log Viewing:
- Offers access to system logs to help you troubleshoot issues.
- User Management:
- Enables you to manage user accounts, including creating, deleting, and modifying user permissions.
- Software Updates:
- Facilitates the installation of system updates and software packages.
- Storage Management:
- Provides tools for managing storage devices, partitions, and filesystems.
- Network Configuration:
- Allows you to configure network interfaces, view network statistics, and manage firewall rules.
- Container Management:
- Supports Docker and Podman for managing containers and container images.
- Remote Access:
- Supports remote management of servers, making it easier to administer systems from different locations.
- Extensibility:
- Offers a plugin architecture that allows you to extend its functionality with additional features.
Recommended Courses
Boost your Linux skills with the “Linux Command Line Basics” by Ahmed Alkabary—a perfect course for beginners who want to master the command line efficiently. Whether you’re aiming for a career in system administration, DevOps, or just want to manage your Linux systems like a pro, this course covers everything from essential commands to practical exercises.
Start learning at your own pace and transform the way you interact with Linux today. [Enroll here] to get started instantly!
Disclaimer: This post contains affiliate links. If you purchase through these links, I may earn a small commission at no extra cost to you. Your support helps me continue sharing helpful tech content.
Common Use Cases
- System Administrators: For managing and monitoring servers in both small and large environments.
- Developers: For managing development environments and deployments.
- IT Professionals: For overseeing multiple servers and performing routine maintenance tasks.
Cockpit is designed to be simple to use while providing powerful management tools, making it a great option for both beginners and experienced administrators.
Linux Server Specification
In this article, we will install Cockpit on CentOS 7 server and then add support in Cockpit for managing our Kubernetes cluster, Docker and Storage.
We have a CentOS 7 virtual machine with following specifications.
- Hostname – kubemaster-01.example.com
- IP Address – 192.168.116.160/24
- Operating System – CentOS 7.6
The above server is the master node of a Kubernetes cluster. For information about Kubernetes configuration please refer to our previous article Install Kubernetes Cluster on CentOS 7.
For your CentOS 7 environment, it’s essential to have reliable hardware that supports smooth installation and efficient operation of Cockpit. A server or workstation with at least a 2 GHz dual-core processor, 4 GB RAM, and a minimum 20 GB SSD storage ensures responsive performance, especially when managing multiple server tasks.
To boost your setup, consider the best-selling WD Blue 1TB Internal SSD for fast, dependable storage, and the Corsair Vengeance LPX 32GB DDR4 RAM kit for enhanced multitasking capabilities. These products are popular among Linux server enthusiasts for their durability and compatibility.
Disclaimer: As a reminder, the affiliate links included may provide a commission at no extra cost to you.
Install Cockpit on CentOS 7
Connect with kubemaster-01.example.com using ssh as root user.
Cockpit is available through EPEL (Extra Packages for Enterprise Linux) yum repository. Therefore, we have to install epel-release first.
yum install -y epel-releaseRebuild cache of yum repositories.
yum clean all
yum makecache fast
Install cockpit using yum command.
yum install -y cockpitEnable and start Cockpit service.
systemctl enable cockpit.socket
systemctl start cockpit.socket
Configure Linux Firewall
Allow Cockpit Service in Linux firewall.
firewall-cmd --permanent --add-service=cockpit
firewall-cmd --reload
Access Cockpit Web UI
Browse URL https://kubemaster-01.example.com:9090/ in a client’s browser. You may encounter a security certificate warning; just ignore it and continue.
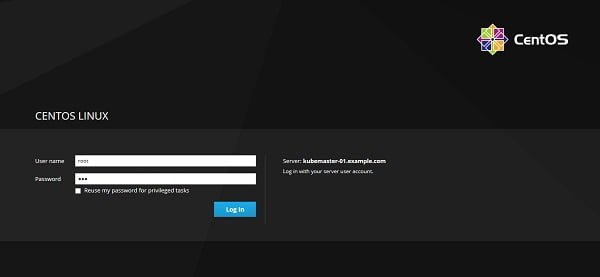
Login as root user.
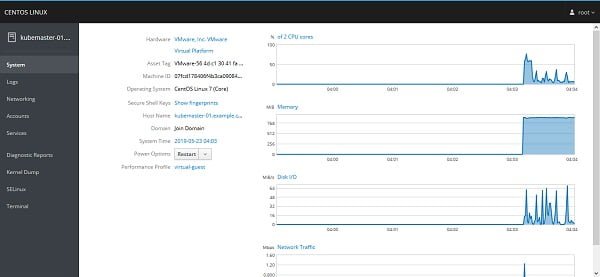
We are now at the system panel of Cockpit. We can monitor system performance here and modify a couple of settings like hostname, system time, etc.
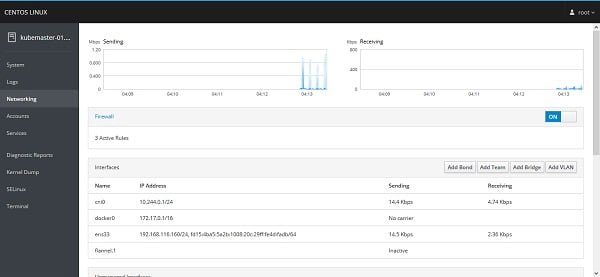
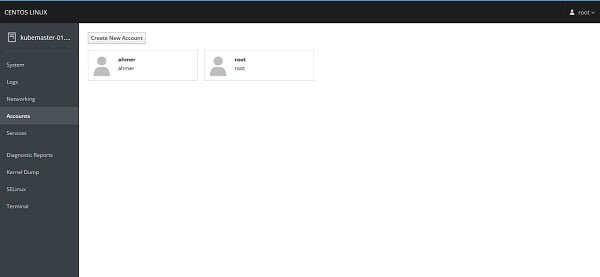
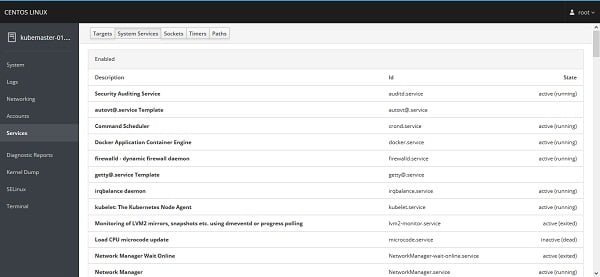
We also have some other panels here like Logs, Networking, Accounts, Services, etc. However, we are installing Cockpit to control our Kubernetes cluster from here. Therefore, we have to add required functionality in Cockpit Web UI.
Install Cockpit Control Panels
Install following packages to add the Kubernetes and Docker control panels in Cockpit Web UI.
yum install -y cockpit-docker cockpit-kubernetesRestart Cockpit service.
systemctl restart cockpit.socketCockpit Web UI will be disconnected due to restart of cockpit.service.
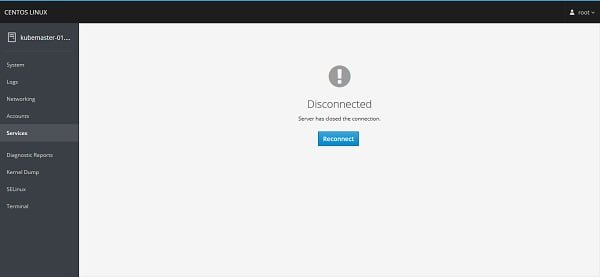
Click on Reconnect.
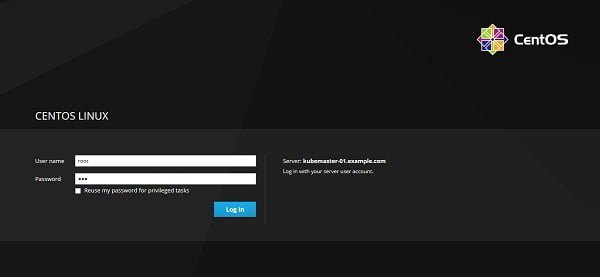
Login as root user.
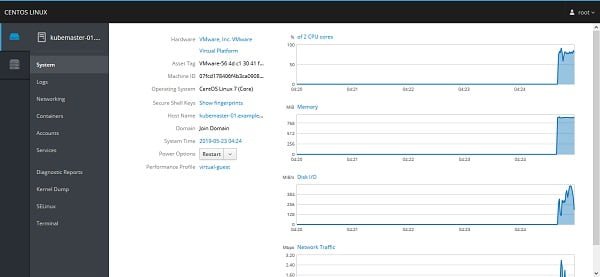
Now you see some new controls on the right side of the console.
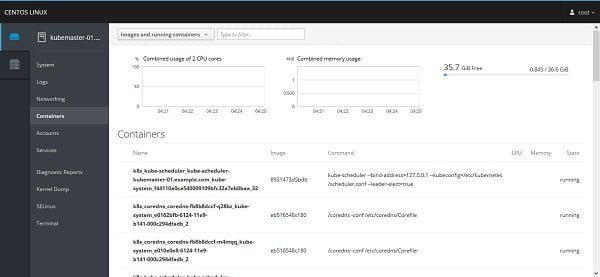
Click on Containers, it provides Docker related control panel.
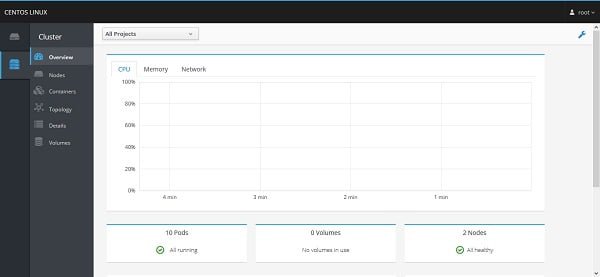
Click on Cluster to manager Kubernetes cluster.
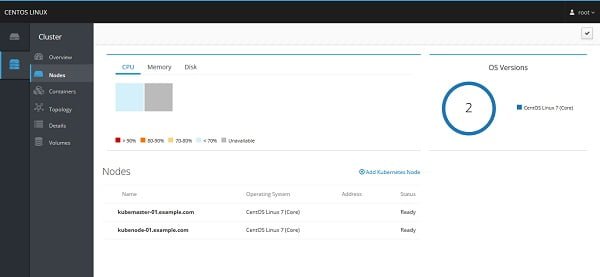
We can add more control panels in the same way.
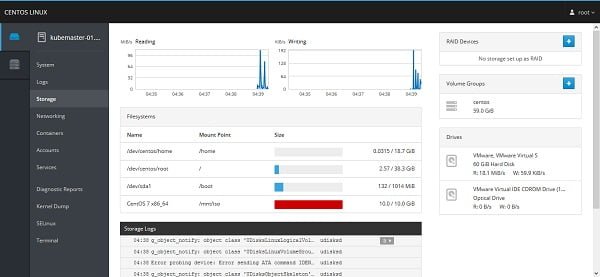
You may have notice that the Cockpit lacks a storage control panel. It is because Cockpit do not install Storage panel by default.
Therefore, to add Storage related control panel in Cockpit Web UI, we have to install cockpit-storaged package using yum command.
yum install -y cockpit-storagedRestart Cockpit service.
systemctl restart cockpit.socketReconnect again to Cockpit Web UI and you may find the Storage Panel there.
If you are installing on a KVM host then you must install cockpit-machines package to add a control panel to manage Virtual machines.
Frequently Asked Questions (FAQs)
1. Can Cockpit be installed on CentOS 7 without additional repositories?
Answer: Yes, Cockpit is included in the default CentOS 7 repositories, so no extra repositories are needed for basic installation. However, optional plugins might require enabling additional repositories like EPEL.
2. How do I install Cockpit on CentOS 7?
Answer: Cockpit can be installed using the default package manager. After installation, the service must be enabled and started to allow access via a web browser.
3. How do I access Cockpit after installation?
Answer: Cockpit is accessed through a web browser by connecting to the server’s IP address on port 9090, using HTTPS. Authentication requires a system user with administrative privileges.
4. Why can’t I access Cockpit after installation?
Answer: Common issues include firewall restrictions blocking port 9090, SELinux policies interfering, or the Cockpit service not running. Verifying these settings typically resolves access problems.
5. Is Cockpit secure to use?
Answer: Cockpit uses HTTPS for encrypted communication and requires valid user credentials. For enhanced security, ensure the system is updated and limit access to trusted networks or users.
Final Thoughts
Installing Cockpit on CentOS 7 provides you with a powerful, user-friendly web interface for managing your server. In this guide, we covered installing Cockpit, enabling the service, and accessing the dashboard to perform system monitoring and administrative tasks.
With Cockpit up and running, you now have an easy and efficient way to manage your server’s resources, users, services, and performance, all from a browser. To keep your server secure and stable, make sure to regularly update Cockpit and apply best practices for system administration.
Optimize your cloud infrastructure and secure your servers with my AWS and Linux administration services. Let’s ensure your systems run smoothly. Connect with me now! if you need any guidance or advice related to your Linux VPS.

Leave a Reply
You must be logged in to post a comment.