Learn how to install Portainer on CentOS 7 with our step-by-step guide. Follow detailed instructions for a smooth and effective Portainer setup to manage your Docker environments. #centlinux #linux #docker
Table of Contents
What is Portainer?
Portainer is a web-based user interface for management of Docker environments. It is free and open-source management toolset that allows us to easily build, manage and maintain Containerized environments. Portainer gives us a detailed overview of our Docker Cluster and allows us to manage our containers, images, networks, volumes, registries, services, nodes and stacks from a single web interface.
Requirement of a Web UI arises because Docker Engine CE provides a single CLI utility (i.e. docker) to create and manage all components of the Docker environments. It is good for hardcore CLI DevOps engineers, but it is quiet difficult for GUI addicts. Therefore, we have to look for some third party Web UI like Portainer to help the non-CLI users in performing the same tasks from an Web UI.
In this article, we are install Portainer on CentOS 7. To achieve this we use the container technology, as we download Portainer image from Docker Hub and run it to manage our Docker Swarm cluster.
There is a good book on Container Technology i.e. Docker Deep Dive (PAID LINK). We highly recommend you to read it for in-depth understanding of the topic.
System Specification
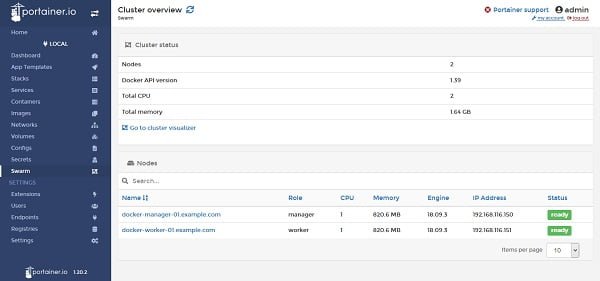
We have a Docker Swarm cluster on CentOS 7 consist of two nodes (1 Manager & 1 Worker) with following specifications:
| Hostname: | docker-manager-01 | docker-worker-01 |
| IP Address: | 192.168.116.150/24 | 192.168.116.151/24 |
| Operating System: | CentOS 7.6 | CentOS 7.6 |
| Docker Version: | Docker CE 18.09 | Docker CE 18.09 |
| Node Role: | Manager | Worker |
To setup the required environment, you can refer to our previous article Configure Docker Swarm Cluster on CentOS 7.
Install Portainer on CentOS 7
Connect to Docker Swarm’s Manager node docker-manager-01 using ssh as root user.
List the nodes in our Docker Swarm cluster.
# docker node ls
ID                            HOSTNAME                        STATUS              AVAILABILITY        MANAGER STATUS      ENGINE VERSION
3b9wynaya1wu910nf01m5jeeq *   docker-manager-01.example.com   Ready               Active              Leader              18.09.3
ydgqdyoksx2mb0snhe1hwvco7     docker-worker-01.example.com    Ready               Active
Pull the latest Portainer image from Portainer repository at Docker Hub.
# docker pull portainer/portainer:latest
latest: Pulling from portainer/portainer
d1e017099d17: Pull complete
0b1e707a06d2: Pull complete
Digest: sha256:d6cc2c20c0af38d8d557ab994c419c799a10fe825e4aa57fea2e2e507a13747d
Status: Downloaded newer image for portainer/portainer:latest
Create a Docker volume for Portainer container data.
# docker volume create portainer_data
portainer_data
Create and run a Docker container from Portainer image.
# docker run -d
> --name portainer-01
> --restart unless-stopped
> -p 9000:9000
> -v /var/run/docker.sock:/var/run/docker.sock
> -v portainer_data:/data
> portainer/portainer
41feb52e01f51a6a2c65841c24d00c2ca9b456441dd78367bb9d8dda33c5d9c4
We mounted the volume portainer_data in portainer1 container and published the service port 9000.
Configure Linux Firewall
By publishing the service port 9000, we have mapped it with the service port 9000 of Docker host. Therefore, we have to allow this service port in host’s firewall.
# firewall-cmd --permanent --add-port=9000/tcp
success
# firewall-cmd --reload
success
Access Portainer Web UI
Browse URL https://docker-manager-01.example.com:9000/ and create Portainer’s initial admin account.
Note: If you do not create a Portainer admin account within 5 minutes after starting the portainer1 container. The container will be stopped automatically and then you have to start it again.
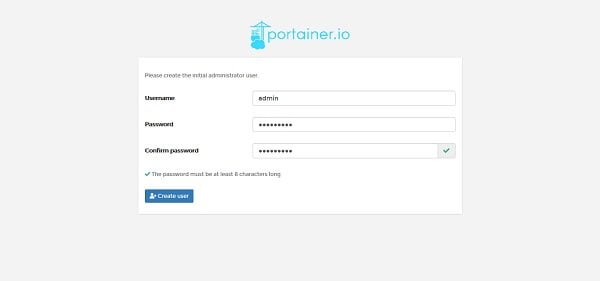
Enter a password and then click on Create User.
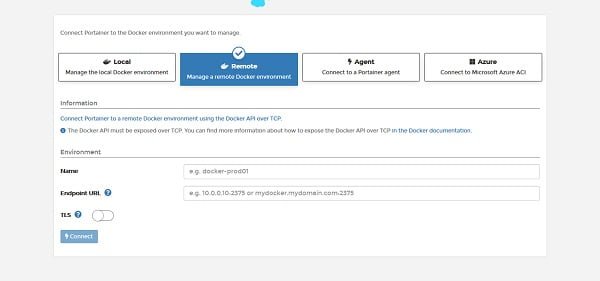
We are now at the connect with Docker environment page. Click on Local.
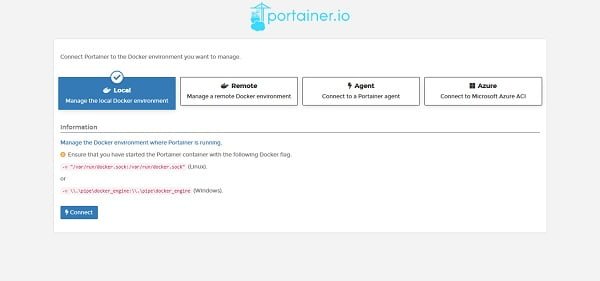
Click on Connect.
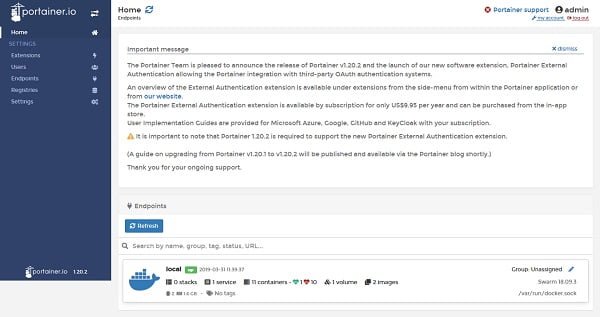
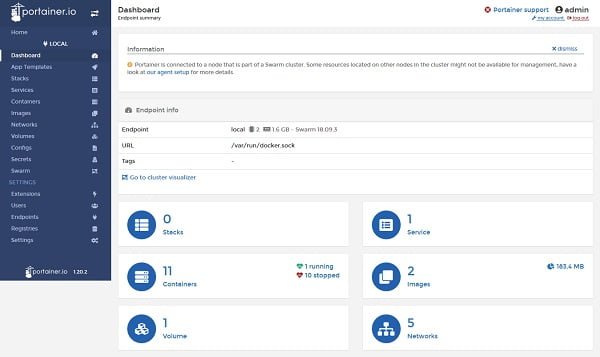
Click on the Local endpoint.
Click on the Swarm from left side panel.
Click on Containers from left side panel.
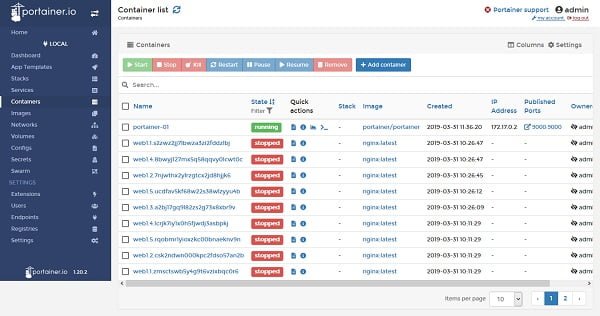
We can manage our complete Docker platform from Portainer Web UI including images, container, services, volumes, registries, clusters, stacks, etc.
Recommended Online Training: Docker and Kubernetes – The Complete Developers Guide

Final Thoughts
Installing Portainer on CentOS 7 is a great way to simplify the management of your Docker containers and environments. I hope this guide has helped you through the installation process and set you up for success with Portainer.
If you need further assistance or would rather have a professional handle the installation and configuration for you, I offer expert services on Fiverr. Whether you need help with the initial setup, advanced configurations, or best practices for managing your Docker environments, I’m here to support you. Visit my Fiverr profile to learn more about my services and how I can assist with your Portainer project.
Thank you for following along, and best of luck with your Portainer installation on CentOS 7!

Wow, this was simple and clear. Thank you for it