Learn how to easily install OpenLiteSpeed on Rocky Linux 9 with our comprehensive step-by-step guide. Optimize your web server for speed and efficiency today! #centlinux #linux #openlitespeed
Table of Contents
What is OpenLiteSpeed?
OpenLiteSpeed is a lightweight, open-source web server developed by LiteSpeed Technologies. It’s designed to be a high-performance alternative to other web servers like Apache and Nginx. OpenLiteSpeed boasts a user-friendly interface, efficient resource utilization, and excellent scalability, making it ideal for powering websites and web applications of all sizes. It supports various web technologies, including PHP, Python, Ruby, and Node.js, and it’s known for its robust security features and advanced caching mechanisms. Overall, OpenLiteSpeed is a powerful choice for anyone looking to optimize their web server performance while maintaining ease of use and flexibility.
Openlitespeed vs Nginx
OpenLiteSpeed and Nginx are both popular web servers, each with its own strengths and characteristics:
- Performance: Both OpenLiteSpeed and Nginx are known for their high performance. OpenLiteSpeed often boasts better performance in certain scenarios due to its event-driven architecture, which can handle high loads efficiently.
- Ease of Use: OpenLiteSpeed typically offers a more user-friendly interface and easier configuration compared to Nginx, making it a preferable choice for those who prioritize simplicity.
- Features: Nginx has a longer history and a larger community, resulting in a wider range of available modules and third-party integrations. However, OpenLiteSpeed offers many features out-of-the-box, including built-in support for PHP, Python, Ruby, and Node.js, as well as advanced caching mechanisms.
- Scalability: Both web servers are capable of handling high traffic and scaling effectively. However, OpenLiteSpeed may have an edge in certain scenarios due to its efficient resource utilization and event-driven architecture.
- Support and Community: Nginx has a larger user base and community support, which can be advantageous when seeking help or finding resources online. However, OpenLiteSpeed also has an active community and official support channels.

Ultimately, the choice between OpenLiteSpeed and Nginx depends on factors such as your specific requirements, familiarity with the technology, and preferences regarding ease of use and performance optimization. Both web servers are capable options for serving websites and web applications efficiently.
Environment Specification
We are using a minimal Rocky Linux 9 virtual machine with following specifications.
- CPU – 3.4 Ghz (2 cores)
- Memory – 2 GB
- Storage – 20 GB
- Operating System – Rocky Linux release 9.1 (Blue Onyx)
- Hostname – web-01.centlinux.com
- IP Address – 192.168.116.128/24
Recommended Training: The Linux Command Line Bootcamp: Beginner To Power User from Colt Steele

Prepare your Rocky Linux Server
By using a ssh client, login to your Linux machine as root user.
Set a hostname (FQDN) and Local DNS resolution for your Linux Server. Or you can configure a DNS Server for your network.
hostnamectl set-hostname web-01.centlinux.com
echo "192.168.116.128 web-01 web-01.centlinux.com" >> /etc/hosts
It is a best practice to update software packages in your Linux operating system, before installation or configuration of a new software.
Therefore, execute dnf command to update your Linux operating system.
dnf update -yIf your Linux Kernel is updated by the above command, then you should reboot your Linux server with the new Kernel.
rebootNote down the versions of Linux Kernel and Linux operating system.
cat /etc/os-releaseOutput:
NAME="Rocky Linux"
VERSION="9.1 (Blue Onyx)"
ID="rocky"
ID_LIKE="rhel centos fedora"
VERSION_ID="9.1"
PLATFORM_ID="platform:el9"
PRETTY_NAME="Rocky Linux 9.1 (Blue Onyx)"
ANSI_COLOR="0;32"
LOGO="fedora-logo-icon"
CPE_NAME="cpe:/o:rocky:rocky:9::baseos"
HOME_URL="https://rockylinux.org/"
BUG_REPORT_URL="https://bugs.rockylinux.org/"
ROCKY_SUPPORT_PRODUCT="Rocky-Linux-9"
ROCKY_SUPPORT_PRODUCT_VERSION="9.1"
REDHAT_SUPPORT_PRODUCT="Rocky Linux"
REDHAT_SUPPORT_PRODUCT_VERSION="9.1"
uname -rOutput:
5.14.0-162.23.1.el9_1.x86_64
Dell 65W USB-C Laptop Charger for XPS and Latitude 5000 – Power Cord Included
$19.99 (as of May 8, 2025 15:40 GMT +00:00 – More infoProduct prices and availability are accurate as of the date/time indicated and are subject to change. Any price and availability information displayed on [relevant Amazon Site(s), as applicable] at the time of purchase will apply to the purchase of this product.)Install LiteSpeed Yum Repository
To begin with, you’ll need to install the wget command, as it is an essential tool for downloading files from the internet. In this case, you will use it to fetch third-party yum repositories necessary for the installation of additional software packages on your system. Since wget is not always pre-installed on every Linux distribution, it’s important to install it first to ensure a smooth process when adding external repositories and software to your system.
dnf install -y wgetTo proceed with the installation of LiteSpeed, execute the following Linux command to add the official LiteSpeed repository to your system. This repository contains all the necessary packages and updates for LiteSpeed, ensuring that you are using the latest stable version available. Adding the official repository is a crucial step as it allows you to easily install, update, and manage LiteSpeed on your server using the native package manager.
wget -O - https://repo.litespeed.sh | sudo bashOpenLiteSpeed software depends on several essential packages that are provided by the EPEL (Extra Packages for Enterprise Linux) and REMI repositories. To ensure a smooth installation and functionality of OpenLiteSpeed, it is necessary to enable both of these repositories on your system. You can easily install and configure them using the following dnf commands. Installing these repositories will grant your system access to a wide range of packages that are not included in the default repositories, ensuring that all dependencies for OpenLiteSpeed are properly met.
dnf install -y epel-release
dnf install -y https://rpms.remirepo.net/enterprise/remi-release-9.rpm
Build yum cache for newly installed yum repositories.
dnf makecacheEWEADN Typewriter Style Mechanical Gaming Keyboard, Wired Mechanical Keyboards,104 Keys Backlit LED Keyboards, Media Control Knob, Wired Computer Keyboard Pink Switch for Windows/Mac/PC-Green
$51.49 (as of May 8, 2025 15:40 GMT +00:00 – More infoProduct prices and availability are accurate as of the date/time indicated and are subject to change. Any price and availability information displayed on [relevant Amazon Site(s), as applicable] at the time of purchase will apply to the purchase of this product.)Install OpenLiteSpeed on Rocky Linux 9
To begin the installation of OpenLiteSpeed and all required dependencies, execute the following command in your Linux terminal. This command will initiate the installation process, fetching OpenLiteSpeed along with any necessary software packages that it relies on for optimal performance. Ensuring that all dependencies are properly installed is essential for the correct functioning of the web server and to avoid potential issues during setup or runtime.
dnf install -y openlitespeedPHP 7.2 is already installed with OpenLiteSpeed software. However, if you want to install PHP 8.1 then you can use following Linux command.
dnf install -y lsphp81 lsphp81-common lsphp81-mysqlnd lsphp81-gd lsphp81-process lsphp81-mbstring lsphp81-xml lsphp81-pdo lsphp81-imap lsphp81-soap lsphp81-bcmathThe OpenLiteSpeed web server has been installed successfully. Default installation directory is /usr/local/lsws.
OpenLiteSpeed installation process generates a random password for admin user. You can get this password by displaying the content of the file by using cat command.
cat /usr/local/lsws/adminpasswdOutput:
Web Admin user/password is admin/MTUzN2Qw
Note down the admin password for future use.
Enable and start OpenLiteSpeed service.
systemctl enable --now lswsConfigure Linux Firewall
This web server is configured to use port 8088/tcp for hosting websites and port 7080/tcp for accessing the OpenLiteSpeed Admin Panel. To ensure that these services are accessible over the network, it is essential to allow both of these ports through the Linux firewall. Failing to do so will result in restricted access to your web server and admin panel, preventing users from reaching your websites and administrators from managing the server settings.
Execute following commands to configure your firewall and open the required ports for smooth operation.
firewall-cmd --permanent --add-port={8088,7080}/tcp
firewall-cmd --reload
Access OpenLiteSpeed Admin Panel & Website
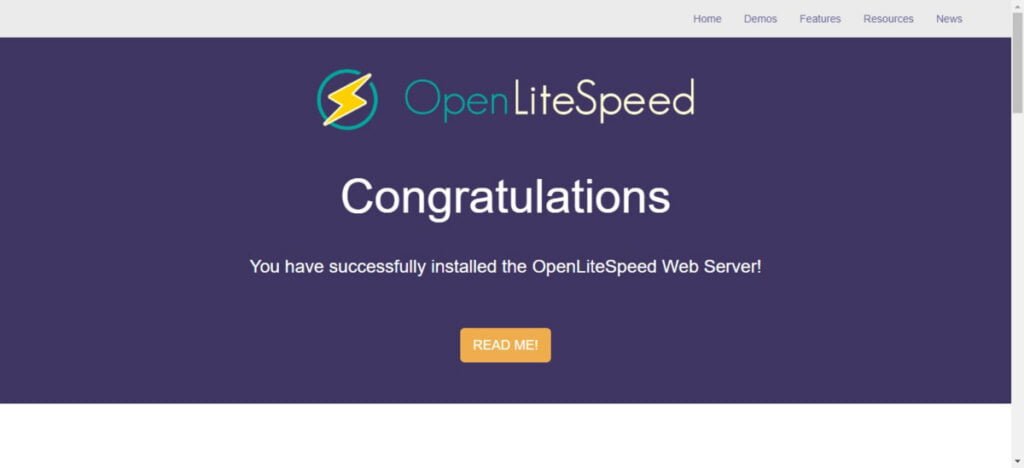
Open URL http://web-01.centlinux.com:8088/ in web browser.

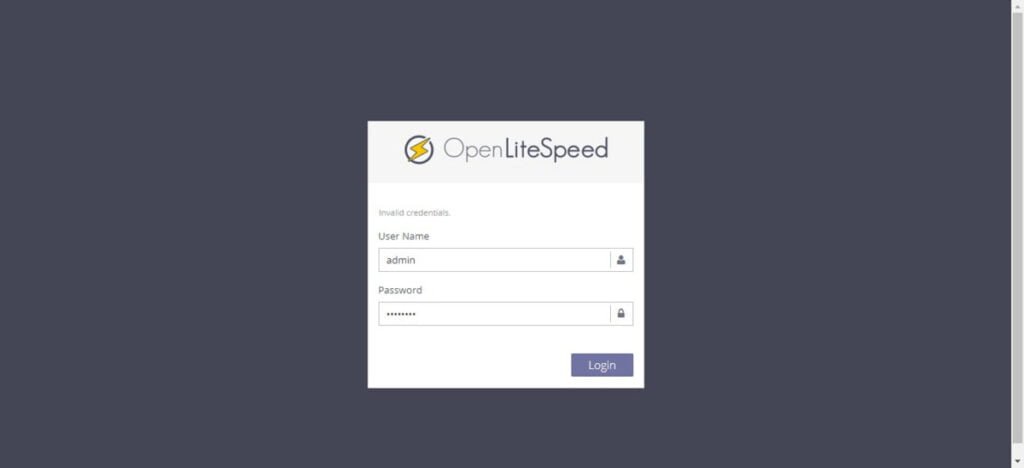
You can also access the OpenLiteSpeed Admin Panel at http://web-01.centlinux.com:7080/

Login as admin user and auto-generated password.

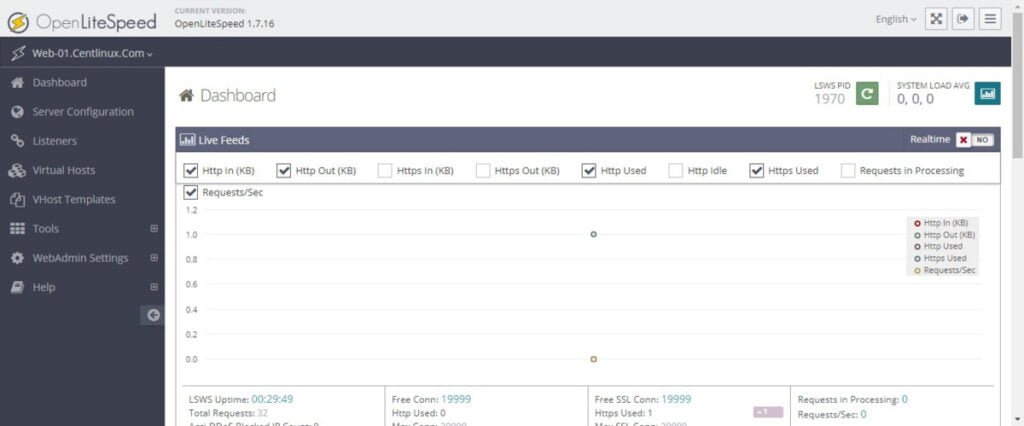
You have reached at the Dashboard of OpenLiteSpeed Admin Panel.
Video Tutorial
Frequently Asked Questions (FAQs)
1. How does OpenLiteSpeed’s event-driven architecture improve performance compared to Apache?
OpenLiteSpeed uses an event-driven approach (like Nginx) instead of Apache’s process/thread-based model, allowing it to handle thousands of concurrent connections with lower memory usage and higher efficiency.
2. Can OpenLiteSpeed fully replace LiteSpeed Enterprise without a license?
OpenLiteSpeed is free and open-source but lacks some Enterprise features like HTTP/3 (QUIC), advanced caching (LSCache rules), and official support. However, it’s a powerful alternative for most use cases.
3. How does OpenLiteSpeed’s built-in caching compare to Varnish or Redis?
OpenLiteSpeed’s LSCache integrates directly with the server, offering faster response times than external caches for supported apps (e.g., WordPress). However, Varnish/Redis provide more flexibility for complex setups.
4. Does OpenLiteSpeed support dynamic reloads without downtime?
Yes, OpenLiteSpeed supports graceful reloads (service lsws reload), allowing configuration changes (e.g., virtual hosts) without interrupting active connections—unlike Apache’s full restart.
5. Is OpenLiteSpeed compatible with Apache’s .htaccess files?
Partially. OpenLiteSpeed reads .htaccess for rewrite rules but ignores some directives (e.g., Order Deny,Allow). Users must manually convert unsupported rules to native OpenLiteSpeed syntax.
Final Thoughts
When it comes to installing OpenLiteSpeed on Rocky Linux 9, efficiency and performance are at the forefront of the process. As a high-performance, event-driven web server, OpenLiteSpeed is designed to maximize speed and scalability—especially when properly configured on a robust platform like Rocky Linux 9.
To ensure a seamless setup, it’s crucial to follow a structured installation guide that covers dependencies, repository setup, and post-installation optimizations. By taking the time to configure OpenLiteSpeed correctly—adjusting worker processes, enabling caching mechanisms like LSCache, and fine-tuning security settings—you can unlock its full potential, delivering lightning-fast response times and reliable service to your users.
Whether you’re deploying a high-traffic website, an e-commerce platform, or a dynamic web application, a well-tuned OpenLiteSpeed server on Rocky Linux 9 can significantly enhance your infrastructure’s efficiency. So, take the plunge, follow best practices, and harness the power of OpenLiteSpeed to elevate your web hosting environment.
Your Linux servers deserve expert care! I provide reliable management and optimization services tailored to your needs. Discover how I can help on Fiverr!


Leave a Reply
You must be logged in to post a comment.