
Master CKA exam tasks with step-by-step solutions covering Kubernetes cluster management, troubleshooting, workloads, networking, storage, and security. #Kubernetes #CKA #CentLinux
Table of Contents
Introduction: CKA Exam Tasks
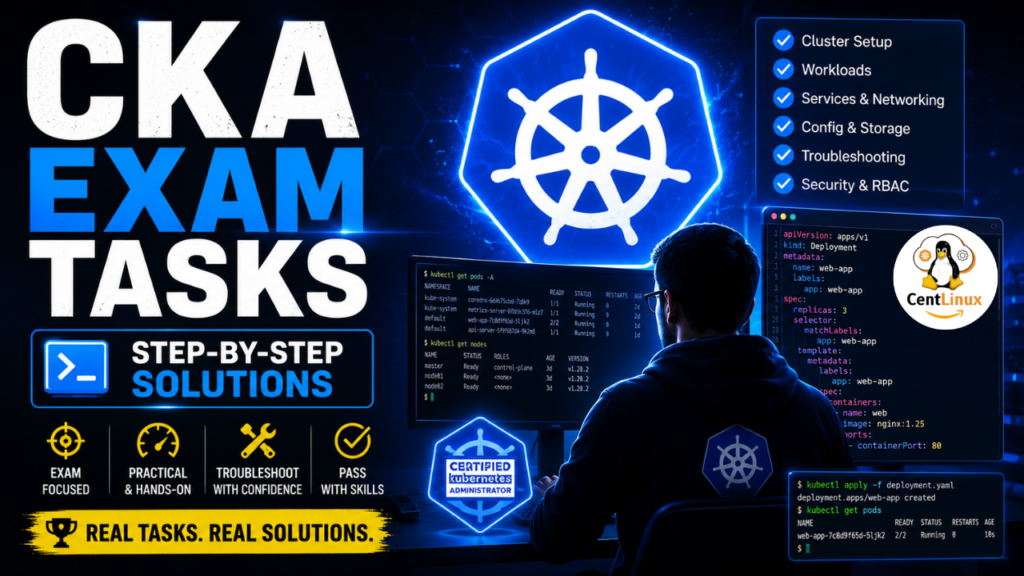
Hello Linux enthusiasts! Today we’re diving deep into some essential Kubernetes tasks that you’ll encounter in the Certified Kubernetes Administrator (CKA) exam. As a CKA expert and content creator for CentLinux, I’ll walk you through each task with detailed explanations to help you master these concepts.
Note: You can purchase Kubernetes best books from CentLinux online store at discounted price.
Task 1: Formatting Deployment Information
Objective: Print the names of all deployments in the admin2406 namespace in a specific format, sorted by deployment name.
Challenge:
Print the names of all deployments in the admin2406 namespace in the following format:

DEPLOYMENT   CONTAINER_IMAGE   READY_REPLICAS   NAMESPACE

<deployment name>   <container image used>   <ready replica count>   <Namespace>
. The data should be sorted by the increasing order of the deployment name.


Example:

DEPLOYMENT   CONTAINER_IMAGE   READY_REPLICAS   NAMESPACE
deploy0   nginx:alpine   1   admin2406
Write the result to the file /opt/admin2406_data.
Step-by-Step Solution:
Step 1: First, let’s understand what we’re trying to achieve. We need to extract specific information about deployments in the admin2406 namespace and format it as a table.
Step 2: We’ll use kubectl with custom-columns output format to extract the required fields:
- DEPLOYMENT: The deployment name (
.metadata.name) - CONTAINER_IMAGE: The container image (
.spec.template.spec.containers[*].image) - READY_REPLICAS: Ready replicas count (
.status.readyReplicas) - NAMESPACE: The namespace (
.metadata.namespace)
Step 3: The complete command to achieve this is:
kubectl get deployments -n admin2406 -o custom-columns=DEPLOYMENT:.metadata.name,CONTAINER_IMAGE:.spec.template.spec.containers[*].image,READY_REPLICAS:.status.readyReplicas,NAMESPACE:.metadata.namespace --sort-by=.metadata.name > /opt/admin2406_dataExplanation of each part:
kubectl get deployments: Gets all deployments-n admin2406: Filters to the admin2406 namespace-o custom-columns=...: Specifies custom output format--sort-by=.metadata.name: Sorts results by deployment name in ascending order> /opt/admin2406_data: Redirects output to the specified file
Follow this video to setup your Kubernetes practice environment:

Task 2: Troubleshooting a Kubeconfig File
Objective: Fix a problematic kubeconfig file.
Challenge:
A kubeconfig file called admin.kubeconfig has been created in /root/CKA. There is something wrong with the configuration. Troubleshoot and fix it.Step-by-Step Solution:
Step 1: Navigate to the directory containing the kubeconfig file:
cd /root/CKAStep 2: First, let’s verify the file exists and check its permissions:
ls -la admin.kubeconfigStep 3: Try to use the kubeconfig to get cluster information to identify the issue:
kubectl --kubeconfig=admin.kubeconfig cluster-infoStep 4: Common issues and their fixes:
Issue A: Invalid or expired certificates
# Check certificate details
openssl x509 -in /etc/kubernetes/pki/apiserver.crt -text -noout

# Update kubeconfig with new certificates
kubectl config set-credentials kubernetes-admin --client-certificate=/etc/kubernetes/pki/apiserver.crt --client-key=/etc/kubernetes/pki/apiserver.key --embed-certs=true --kubeconfig=admin.kubeconfig
Issue B: Incorrect server URL
# Check current server URL
kubectl config view --kubeconfig=admin.kubeconfig

# Update the server URL if incorrect
kubectl config set-cluster kubernetes --server=https://127.0.0.1:6443 --kubeconfig=admin.kubeconfig
Issue C: User credentials missing or incorrect
# Set the user credentials
kubectl config set-credentials admin --username=admin --password=password --kubeconfig=admin.kubeconfig
Step 5: Verify the fix by testing the configuration:
kubectl --kubeconfig=admin.kubeconfig get nodesIf the command executes successfully, your kubeconfig is fixed.
Read Also: Kubernetes Basics for Sysadmins
Task 3: Creating and Updating a Deployment
Objective: Create an nginx deployment and perform a rolling update with annotation.
Challenge:
Create a new deployment called nginx-deploy, with image nginx:1.16 and 1 replica.
Next, upgrade the deployment to version 1.17 using rolling update and add the annotation message
Updated nginx image to 1.17.
Step-by-Step Solution:
Step 1: Create the initial deployment with nginx:1.16:
kubectl create deployment nginx-deploy --image=nginx:1.16 --replicas=1Let’s verify the deployment is running:
kubectl get deployment nginx-deploy
kubectl get pods -l app=nginx-deploy
Step 2: Check the current image version:
kubectl describe deployment nginx-deploy | grep ImageStep 3: Perform the rolling update to version 1.17:
kubectl set image deployment nginx-deploy nginx=nginx:1.17Step 4: Monitor the rollout status:
kubectl rollout status deployment nginx-deployStep 5: Verify the update was successful:
kubectl describe deployment nginx-deploy | grep ImageStep 6: Add the annotation to document the change:
kubectl annotate deployment nginx-deploy kubernetes.io/change-cause="Updated nginx image to 1.17" --overwriteStep 7: Verify the annotation was added:
kubectl describe deployment nginx-deploy | grep -A 1 "Annotations"Alternative approach using kubectl edit:
# Create deployment
kubectl create deployment nginx-deploy --image=nginx:1.16 --replicas=1

# Edit the deployment
kubectl edit deployment nginx-deploy
# Change image: nginx:1.16 to nginx:1.17 and save
# Add annotation in the metadata section
Understanding Rolling Update:
- Kubernetes performs a rolling update by creating new pods with the updated image
- It gradually replaces old pods while maintaining service availability
- The update is controlled by the deployment’s strategy settings
Read Also: Kubernetes etcd Cluster: Complete Setup Guide 2026
Task 4: Troubleshooting a MySQL Deployment
Objective: Fix a non-running MySQL deployment that requires a persistent volume.
Challenge:
A new deployment called alpha-mysql has been deployed in the alpha namespace. However, the pods are not running. Troubleshoot and fix the issue. The deployment should make use of the persistent volume alpha-pv to be mounted at /var/lib/mysql and should use the environment variable MYSQL_ALLOW_EMPTY_PASSWORD=1 to make use of an empty root password.

Important: Do not alter the persistent volume.
Step-by-Step Solution:
Step 1: First, check the status of the deployment and pods:
kubectl get deployment alpha-mysql -n alpha
kubectl get pods -n alpha -l app=alpha-mysql
Step 2: Inspect the pod status and events:
kubectl describe pod -n alpha -l app=alpha-mysqlStep 3: Check if the persistent volume exists and its status:
kubectl get pv alpha-pv
kubectl describe pv alpha-pv
Step 4: Create a PersistentVolumeClaim (PVC) that matches the PV:
Create a file named pvc.yaml:
apiVersion: v1
kind: PersistentVolumeClaim
metadata:
  name: mysql-alpha-pvc
  namespace: alpha
spec:
  accessModes:
  - ReadWriteOnce
  resources:
    requests:
      storage: 1Gi
  storageClassName: slow
  volumeMode: Filesystem
Step 5: Apply the PVC:
kubectl apply -f pvc.yamlStep 6: Verify the PVC is bound to the PV:
kubectl get pvc -n alpha
kubectl get pv
Step 7: Edit the deployment to reference the PVC and add the environment variable:
kubectl edit deployment alpha-mysql -n alphaAdd the following sections to the deployment spec:
spec:
  template:
    spec:
      containers:
      - name: mysql
        image: mysql:5.7
        env:
        - name: MYSQL_ALLOW_EMPTY_PASSWORD
          value: "1"
        volumeMounts:
        - name: mysql-storage
          mountPath: /var/lib/mysql
      volumes:
      - name: mysql-storage
        persistentVolumeClaim:
          claimName: mysql-alpha-pvc
Step 8: Delete the old pod to trigger a restart with the new configuration:
kubectl delete pod -n alpha -l app=alpha-mysqlStep 9: Verify the new pod is running correctly:
kubectl get pods -n alpha -l app=alpha-mysql
kubectl logs -n alpha -l app=alpha-mysql
Step 10: Confirm the PVC is properly mounted:
kubectl exec -n alpha deployment/alpha-mysql -- df -h | grep /var/lib/mysqlTask 5: ETCD Backup
Objective: Take a backup of the ETCD database.
Challenge:
Take the backup of ETCD at the location /opt/etcd-backup.db on the controlplane node.Step-by-Step Solution:
Step 1: First, ensure you’re on the control plane node:
hostnameStep 2: Check if the ETCD client is available and set the API version:
export ETCDCTL_API=3Step 3: Find the location of ETCD certificates:
ls -la /etc/kubernetes/pki/etcd/Step 4: Take the ETCD snapshot with proper authentication:
ETCDCTL_API=3 etcdctl --endpoints=https://127.0.0.1:2379 \
--cacert=/etc/kubernetes/pki/etcd/ca.crt \
--cert=/etc/kubernetes/pki/etcd/server.crt \
--key=/etc/kubernetes/pki/etcd/server.key \
snapshot save /opt/etcd-backup.db
Step 5: Verify the snapshot was created successfully:
ls -la /opt/etcd-backup.dbStep 6: Check the integrity of the backup:
ETCDCTL_API=3 etcdctl --write-out=table snapshot status /opt/etcd-backup.dbStep 7: Verify the backup contains data:
ETCDCTL_API=3 etcdctl --endpoints=https://127.0.0.1:2379 \
--cacert=/etc/kubernetes/pki/etcd/ca.crt \
--cert=/etc/kubernetes/pki/etcd/server.crt \
--key=/etc/kubernetes/pki/etcd/server.key \
snapshot status /opt/etcd-backup.db
Troubleshooting Tips:
- If you get certificate errors, ensure the paths to certificates are correct
- Verify ETCD service is running:
systemctl status etcd - Check ETCD endpoints:
kubectl get endpoints -n kube-system etcd
Read Also: How to Install etcdctl on K8s Control Plane
Task 6: Creating a Pod with Secret Volume
Objective: Create a pod with a mounted secret volume.
Challenge:
Create a pod called secret-1401 in the admin1401 namespace using the busybox image. The container within the pod should be called secret-admin and should sleep for 4800 seconds.

The container should mount a read-only secret volume called secret-volume at the path /etc/secret-volume. The secret being mounted has already been created for you and is called dotfile-secret.
Step-by-Step Solution:
Step 1: First, ensure the namespace exists:
kubectl get ns admin1401
# If it doesn't exist, create it:
kubectl create ns admin1401
Step 2: Check if the secret exists:
kubectl get secret dotfile-secret -n admin1401Step 3: Create the pod definition YAML file:
Create a file named secret-1401.yaml:
apiVersion: v1
kind: Pod
metadata:
  labels:
    run: secret-1401
  name: secret-1401
  namespace: admin1401
spec:
  containers:
  - image: busybox
    name: secret-admin
    command:
    - sleep
    - "4800"
    volumeMounts:
    - name: secret-volume
      mountPath: /etc/secret-volume
      readOnly: true
  volumes:
  - name: secret-volume
    secret:
      secretName: dotfile-secret
  dnsPolicy: ClusterFirst
  restartPolicy: Always
Step 4: Apply the pod configuration:
kubectl apply -f secret-1401.yamlStep 5: Verify the pod is running:
kubectl get pod secret-1401 -n admin1401Step 6: Check that the secret is properly mounted:
kubectl describe pod secret-1401 -n admin1401Step 7: Verify the mount by accessing the pod:
kubectl exec -it secret-1401 -n admin1401 -- ls -la /etc/secret-volumeStep 8: Confirm the files from the secret are available:
kubectl exec -it secret-1401 -n admin1401 -- cat /etc/secret-volume/your-file-nameStep 9: Verify the read-only mount:
kubectl exec -it secret-1401 -n admin1401 -- touch /etc/secret-volume/test-file
# This should fail as the volume is mounted read-only
Understanding Secret Volumes:
- Secrets are mounted as files in the container
- Each key in the secret becomes a file name
- The file content is the value of the key
- Secrets are base64 encoded but automatically decoded when mounted
- The volume is mounted read-only for security reasons
Read Also: Kubernetes Secrets Encryption: A Practical Guide
Summary
These six tasks cover essential Kubernetes administration concepts that are frequently tested in the CKA exam:
- Custom Output Formatting: Using
kubectlwith custom columns to extract specific information - Kubeconfig Troubleshooting: Understanding and fixing authentication issues
- Deployment Management: Creating, updating, and annotating deployments
- Persistent Volume Claims: Troubleshooting storage issues in deployments
- ETCD Backup: Critical disaster recovery procedures
- Secret Mounts: Securely mounting sensitive data in pods
Remember to practice these tasks in a real Kubernetes environment to solidify your understanding. The key to success in the CKA exam is not just knowing the commands but understanding the underlying concepts and troubleshooting approaches.
About the Author: This article was created by a Kubernetes expert and content creator for CentLinux, your trusted source for Linux and DevOps learning resources.
Follow CentLinux for more Kubernetes tutorials and CKA exam preparation guides!



Leave a Reply
You must be logged in to post a comment.