AlmaLinux is an open-source fork of Red Hat Enterprise Linux (RHEL) built by CloudLinux. In this article, you will see AlmaLinux 8 minimal installation with screenshots. #centlinux #linux #almalinux
Table of Contents
What is AlmaLinux?
AlmaLinux is a free, open-source, community-driven Linux distribution designed as a downstream, binary-compatible fork of Red Hat Enterprise Linux (RHEL). It was created to provide a stable, enterprise-grade operating system for users who need a reliable alternative to RHEL, particularly after Red Hat announced changes to the availability of its source code for CentOS, another popular RHEL-based distribution.
Key Features of AlmaLinux
- RHEL Compatibility: AlmaLinux is fully binary-compatible with RHEL, meaning software and applications designed for RHEL can run seamlessly on AlmaLinux without modification.
- Community-Driven: Developed and maintained by the community, AlmaLinux is governed by the AlmaLinux OS Foundation, a non-profit organization that ensures the project remains open and accessible to all.
- Long-Term Support: Like RHEL, AlmaLinux offers long-term support, with regular security updates, bug fixes, and stability improvements, making it suitable for production environments.
- Free and Open Source: AlmaLinux is completely free to use, with no licensing fees or restrictions, making it an attractive option for businesses and individuals alike.
- Migration-Friendly: Tools like the AlmaLinux Migration Tool make it easy to transition from other RHEL-based distributions, such as CentOS, to AlmaLinux with minimal effort.
Why Was AlmaLinux Created?
AlmaLinux was launched in response to Red Hat’s decision to shift focus from CentOS Linux (a free, community-supported RHEL alternative) to CentOS Stream, which serves as a rolling-release distribution that tracks just ahead of RHEL. This change left many users seeking a stable, production-ready alternative, and AlmaLinux emerged as a direct replacement for CentOS Linux.
Use Cases
- Enterprise Servers: Ideal for businesses that require a stable, secure, and cost-effective operating system for their servers.
- Cloud and Virtualization: Works well in cloud environments and virtualized setups, supporting platforms like AWS, Azure, and VMware.
- Development and Testing: Developers can use AlmaLinux to create and test applications in an environment that mirrors RHEL.
In summary, AlmaLinux is a robust, community-supported Linux distribution that fills the gap left by CentOS Linux, offering a reliable and free alternative for users who depend on RHEL-compatible systems. Its commitment to stability, security, and open-source principles has made it a popular choice in the Linux ecosystem.
Read Also: Rocky Linux vs AlmaLinux: Choose the Right Distribution
Recommended Training: The Linux Command Line Bootcamp: Beginner To Power User from Colt Steele

Linux Server Specification
We are utilizing a Linux KVM (Kernel-based Virtual Machine) virtual machine for this setup, which offers robust virtualization capabilities. The virtual machine has been provisioned with the following hardware specifications to ensure optimal performance and resource allocation. These specifications include CPU, RAM, storage, and network configurations, all tailored to support the desired workload and operations efficiently. By leveraging KVM virtualization, we benefit from enhanced flexibility, scalability, and isolation of workloads, making it ideal for both development and production environments.
- CPU – 3.4 Ghz (2 cores)
- Memory – 2 GB
- Storage – 20 GB
- Operating System – AlmaLinux 8.0
- Hostname – almalinux-01.centlinux.com
Amazon Fire HD 10 tablet (newest model) built for relaxation, 10.1″ vibrant Full HD screen, octa-core processor, 3 GB RAM, 64 GB, Black
$79.99 (as of July 4, 2025 20:44 GMT +00:00 – More infoProduct prices and availability are accurate as of the date/time indicated and are subject to change. Any price and availability information displayed on [relevant Amazon Site(s), as applicable] at the time of purchase will apply to the purchase of this product.)AlmaLinux Downloads for Minimal ISO
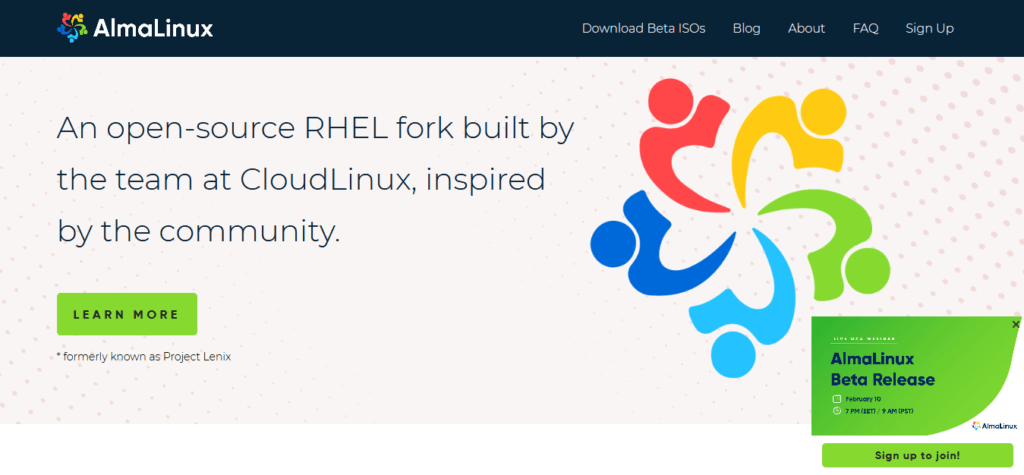
At present, the Beta version of AlmaLinux has been officially released, providing users with an opportunity to test and explore this new open-source, community-driven Linux distribution.
AlmaLinux aims to serve as a reliable, enterprise-grade alternative to CentOS, and it is fully compatible with Red Hat Enterprise Linux (RHEL). You can easily download the ISO image of the Beta version from the official AlmaLinux website, allowing you to install and evaluate its features, functionality, and stability before the final version is made available.
This Beta release gives users a head start in preparing for the full release and participating in feedback to improve the final product.
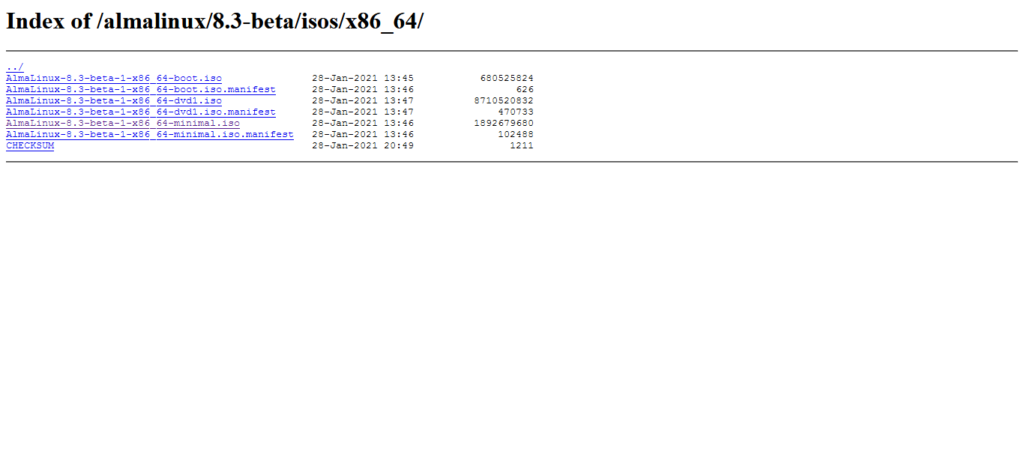
Here, we are installing AlmaLinux 8 minimal software packages, therefore we have downloaded AlmaLinux-8.3-beta-1-x86_64-minimal.iso.
Boot from AlmaLinux ISO
You can either burn the downloaded ISO of Linux operating system into a DVD if installing on a stand alone system, or you can directly attach the ISO file in the VMware, if you are installing on a virtual machine.
Start your server machine and attach the DVD/ISO to boot from DVDROM.
After POST (Power on Self Test) the server will boot from DVD/ISO and will display the following menu.
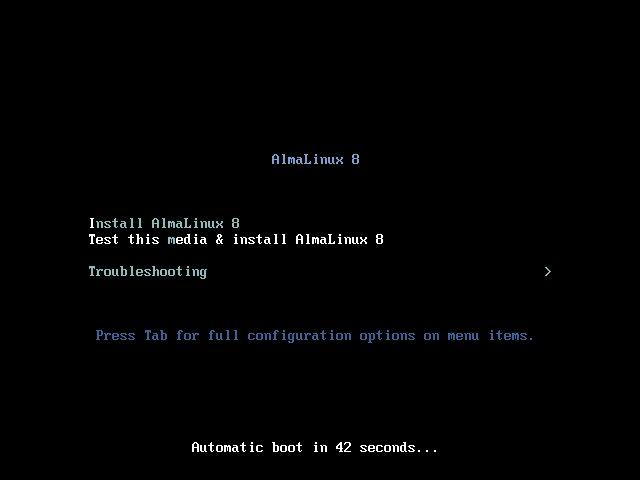
Select “Install AlmaLinux 8” and press <ENTER>.
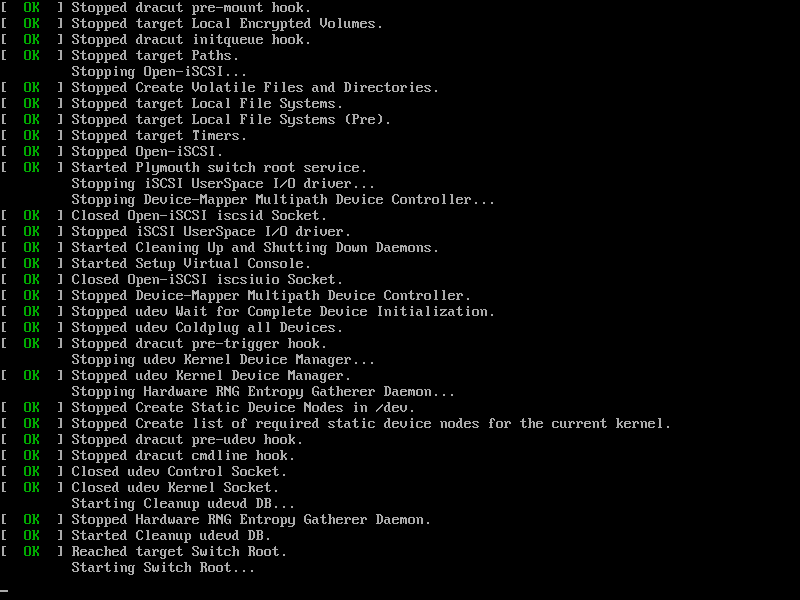
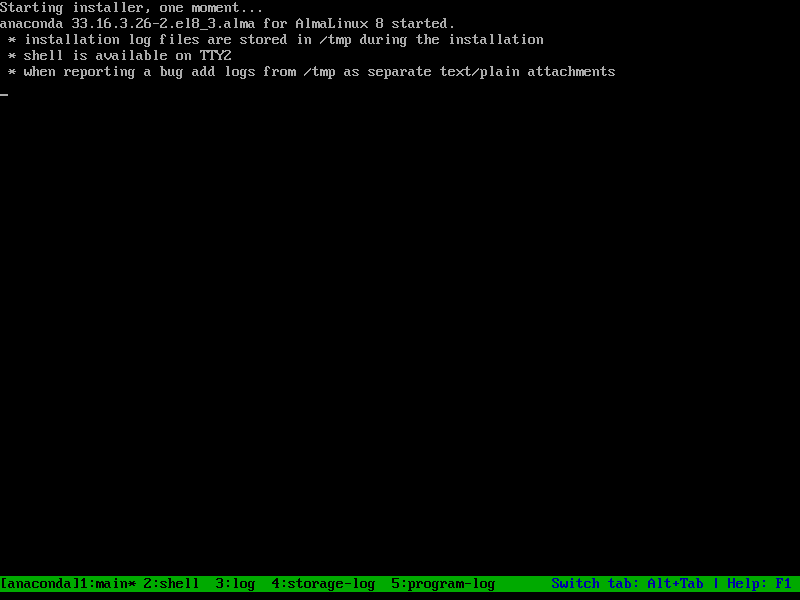
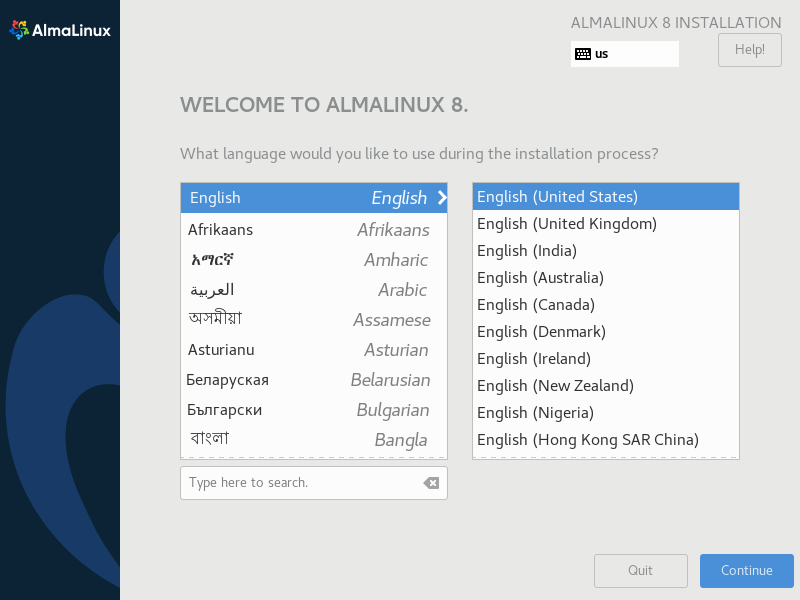
After loading AlmaLinux setup, the installer will display the Language selection screen. You can select your preferred Language for the installation process and press “Continue”.
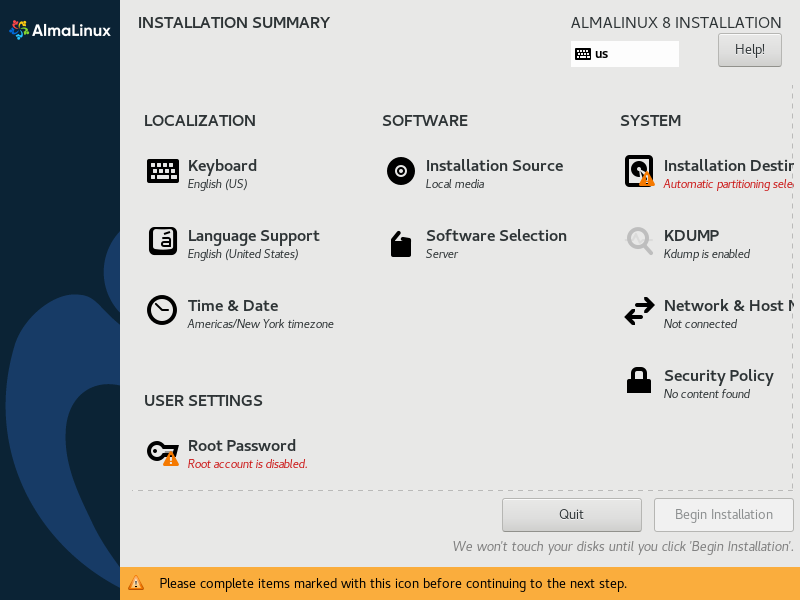
You are now at the Installation Summary screen. You can customize your AlmaLinux installation from here.
ECHTPower Wireless PC Gaming Controller – Hall Effect Joystick, 2.4G & Wired 1000Hz Polling Rate, 800mAh Battery, Adjustable Turbo/Vibration – for PC/Switch/iOS/Android
$23.99 (as of July 4, 2025 19:57 GMT +00:00 – More infoProduct prices and availability are accurate as of the date/time indicated and are subject to change. Any price and availability information displayed on [relevant Amazon Site(s), as applicable] at the time of purchase will apply to the purchase of this product.)Set Installation Destination for AlmaLinux 8
First of all click on the “Installation Destination” to setup hard disk and partitions for your Linux machine.
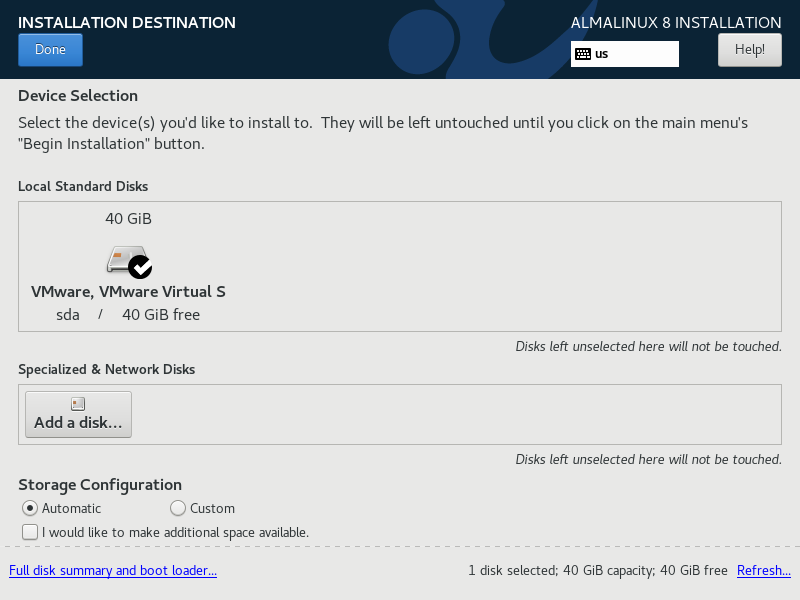
The default are quiet enough to setup AlmaLinux server. However, you can also configure basic to advance storage option like RAID, LVM, etc. from here.
Click on “Done”.
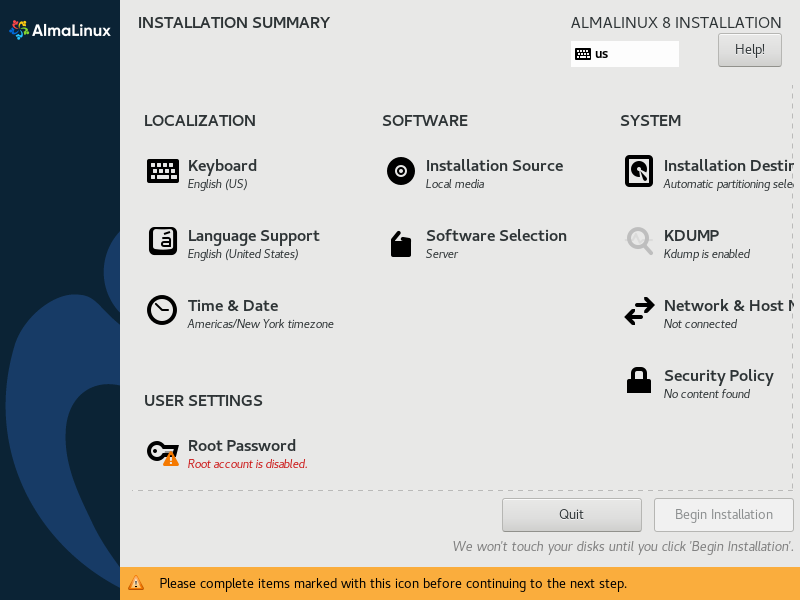
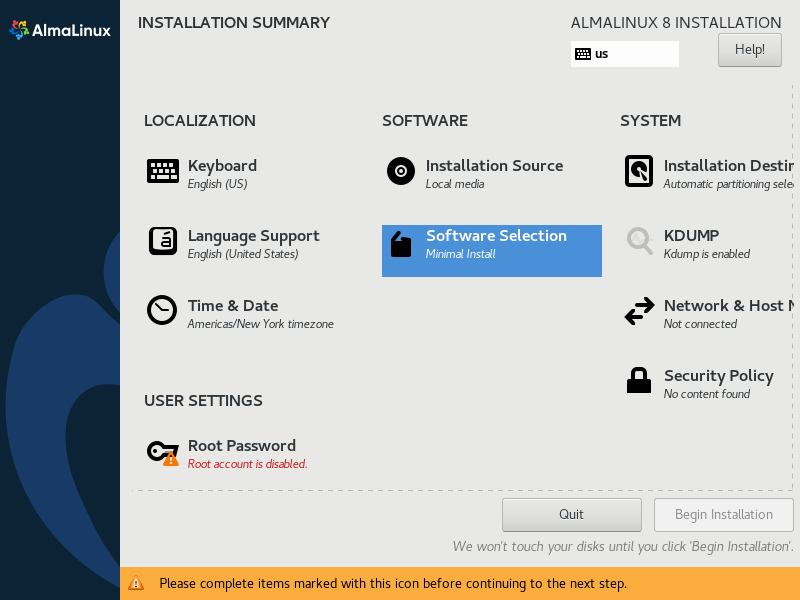
AlmaLinux Software Selection
Go to “Software Selection” to choose the software packages that you want to install.
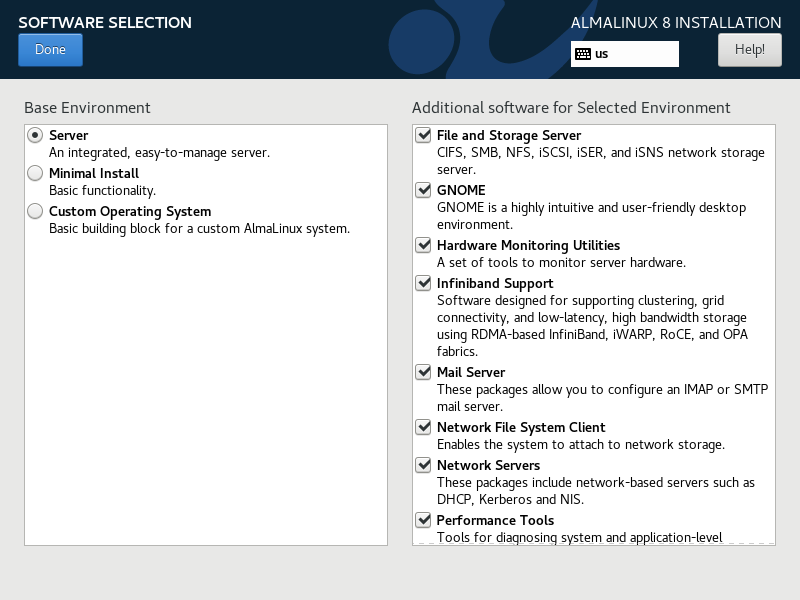
By default, Base Environment:Server is selected. But we are performing AlmaLinux 8 minimal installation, therefore you have to select Base Environment:Minimal Install.
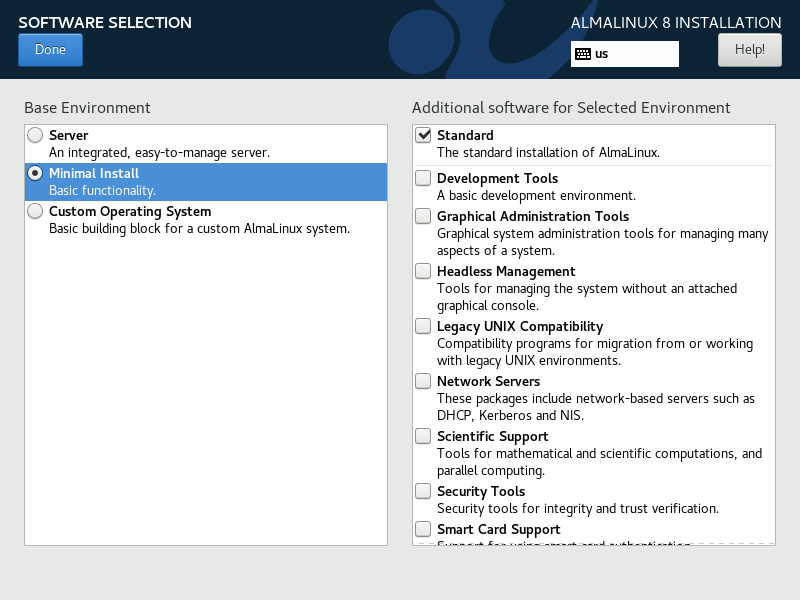
Click on “Done”.
AlmaLinux Network Configurations
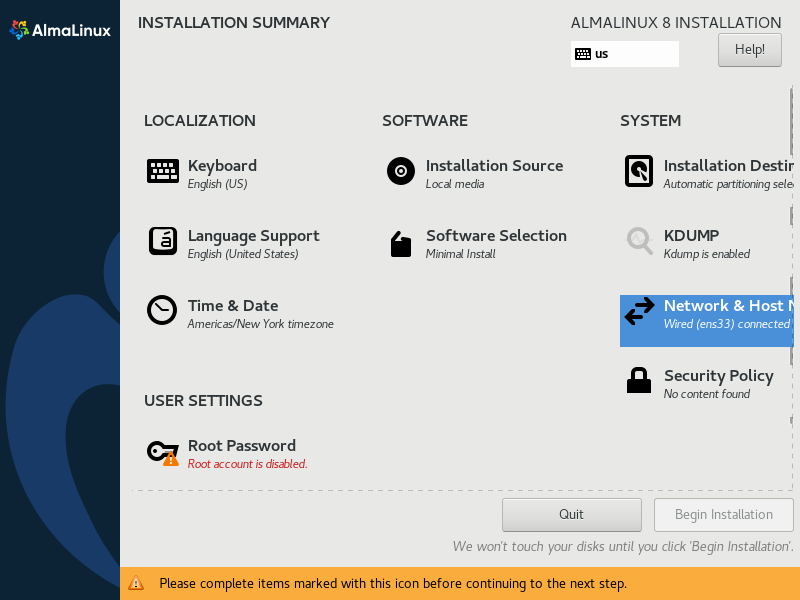
You are now back at the “Installation Summary” screen.
Now, go to “Network & Host Name” to configure network settings of your Linux server.
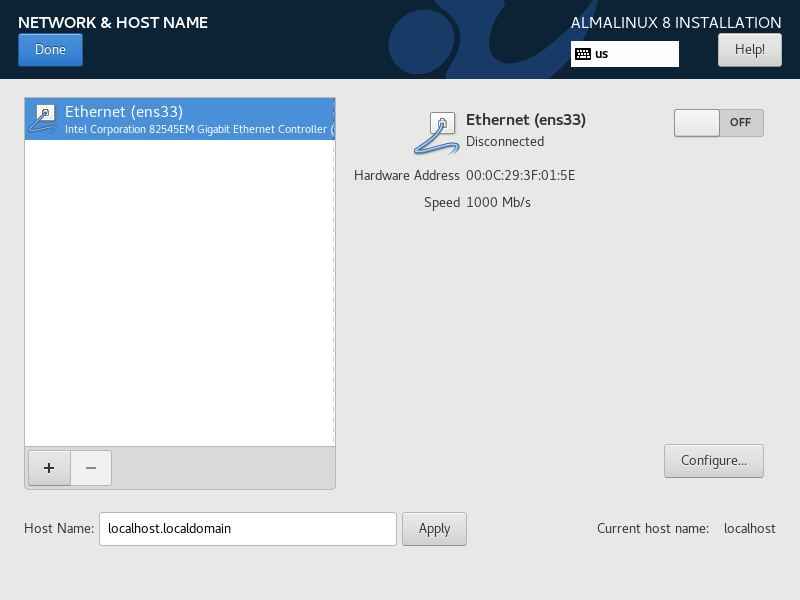
Ethernet connection is OFF by default, turn it ON and the connection will received the network settings from your DHCP server.
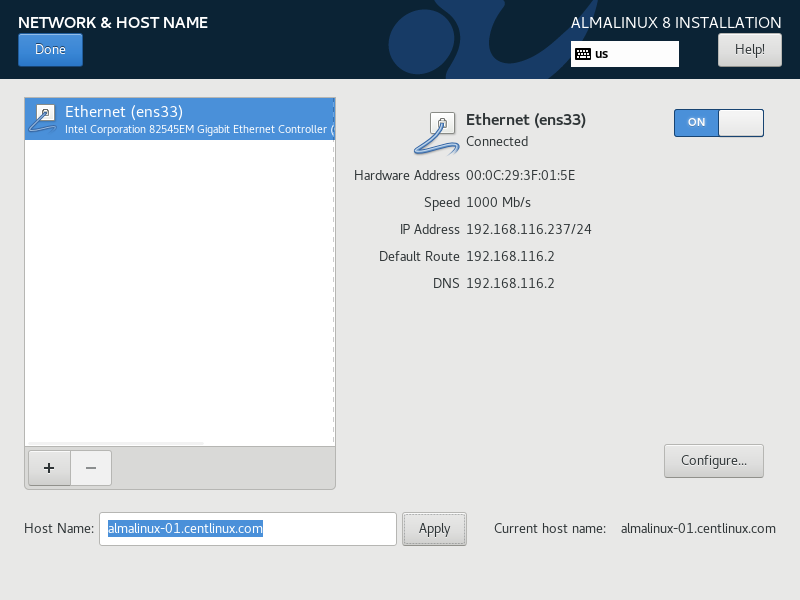
You can also set the HOSTNAME of your Linux server from this screen.
Press “Done” after completing network configurations.
Set SuperUser Password on AlmaLinux 8
At the “Installation Summary” again. Click on “Root Password” to set the superuser password for your AlmaLinux server.
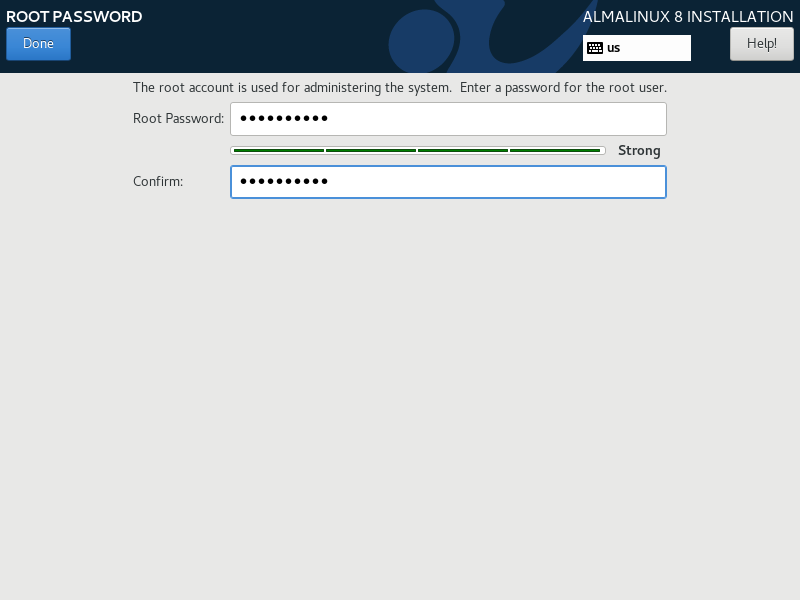
Set a strong password for root user and click on “Done”.
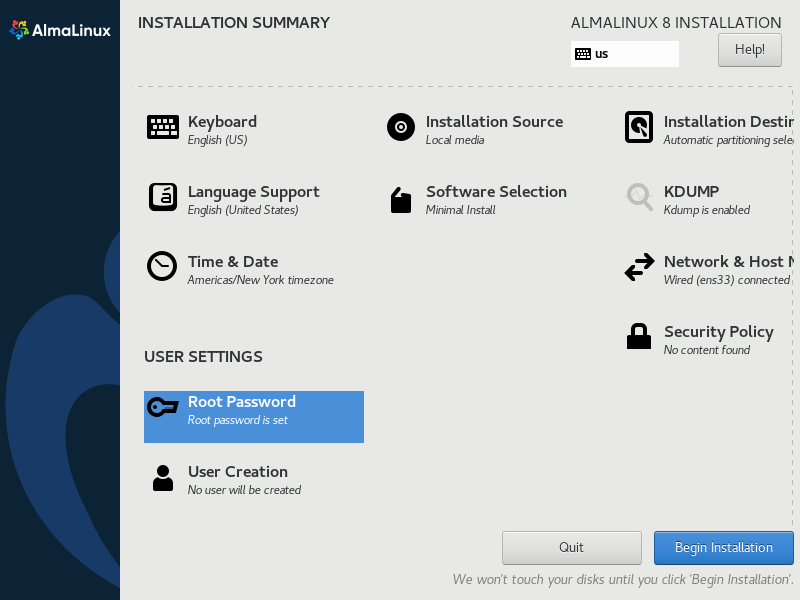
Create User on AlmaLinux OS
You have again reached the “Installation Summary” screen.
To create a operating system user click on the “User Creation” option.
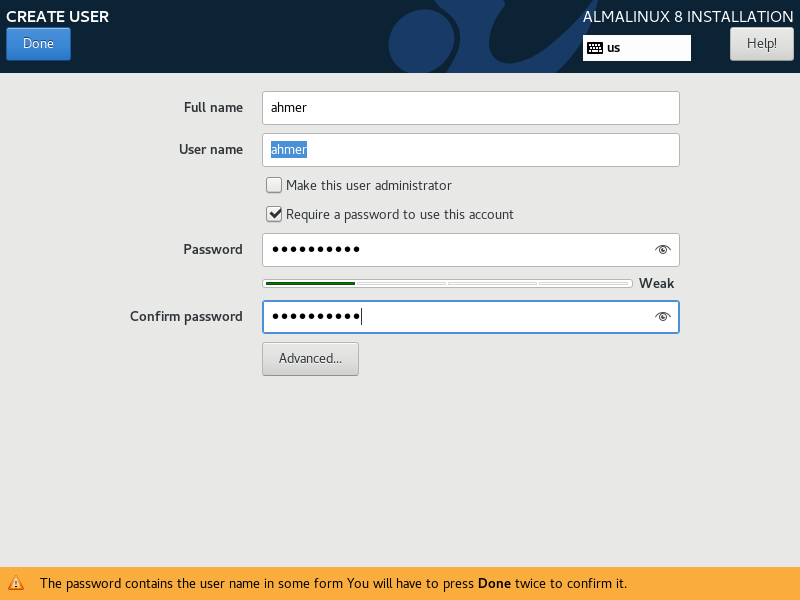
Create a user by providing necessary details in this page. You can also create an admin user if you check the option “Make this user administrator” option.
Click on “Done”.
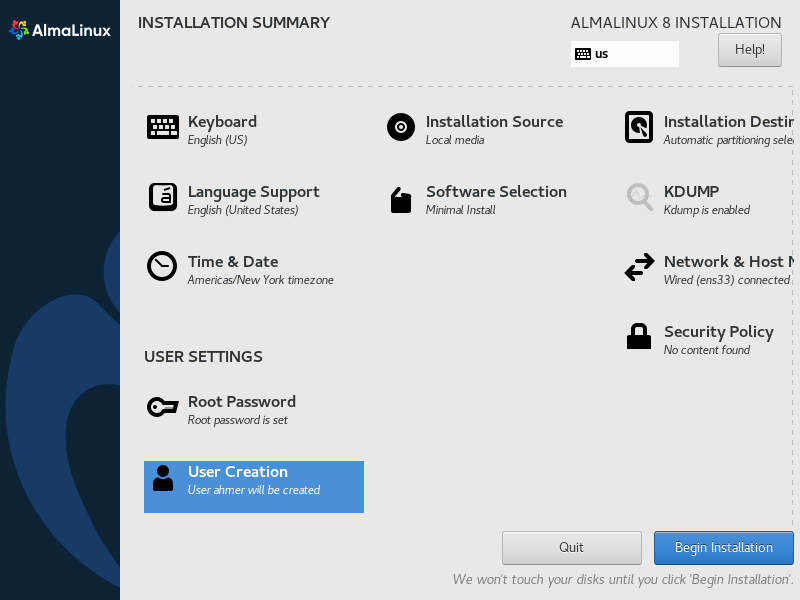
Begin AlmaLinux 8 Minimal Installation
All installation options are configured successfully. Click on “Begin Installation” to start AlmaLinux 8 minimal installation.
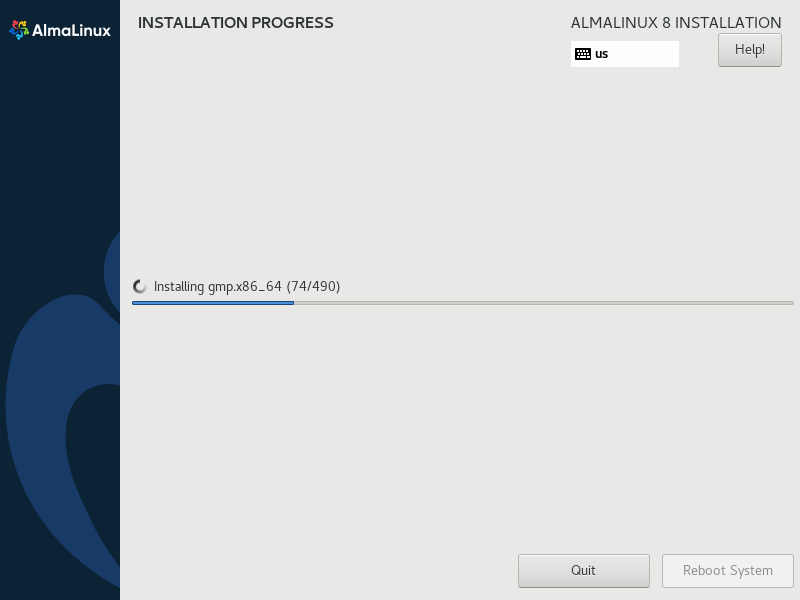
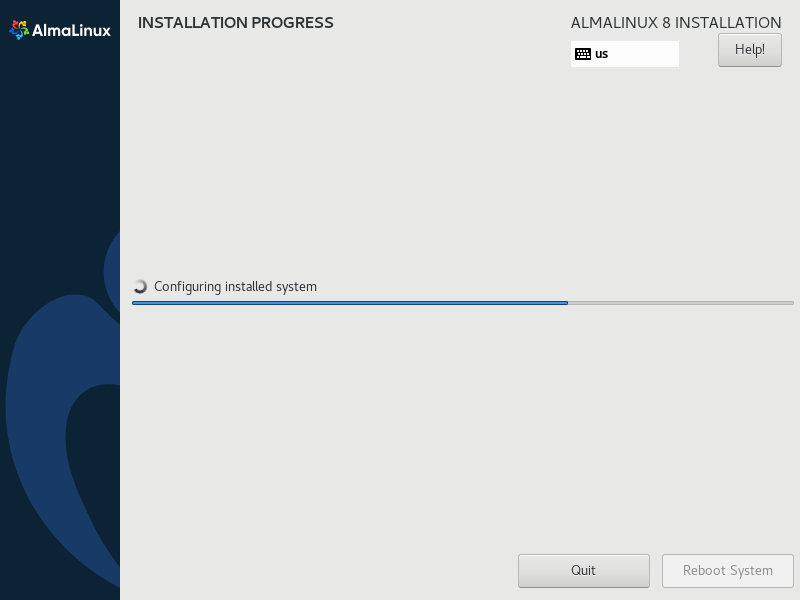
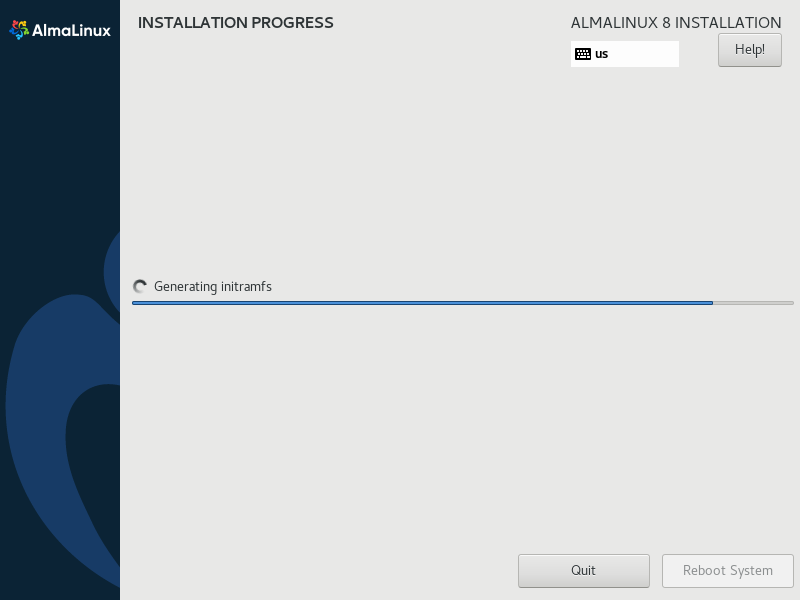
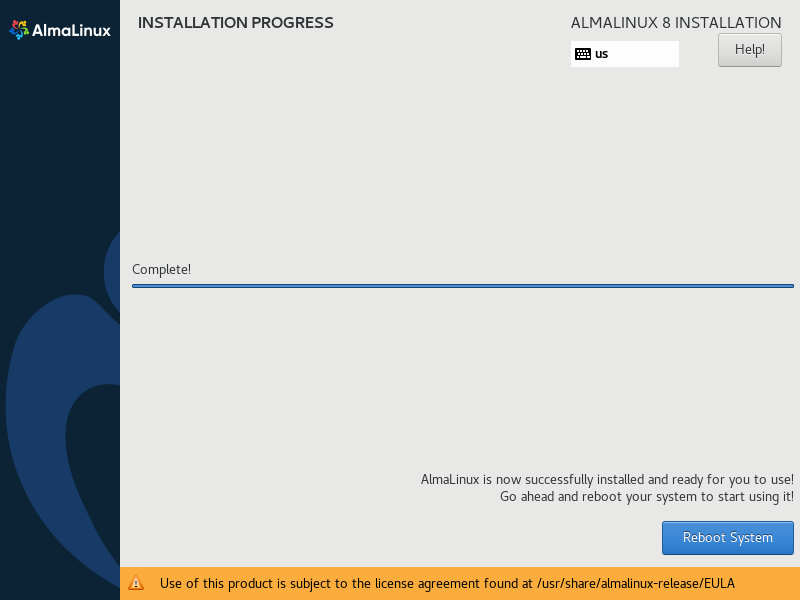
When installation completed, click on “Reboot System”.
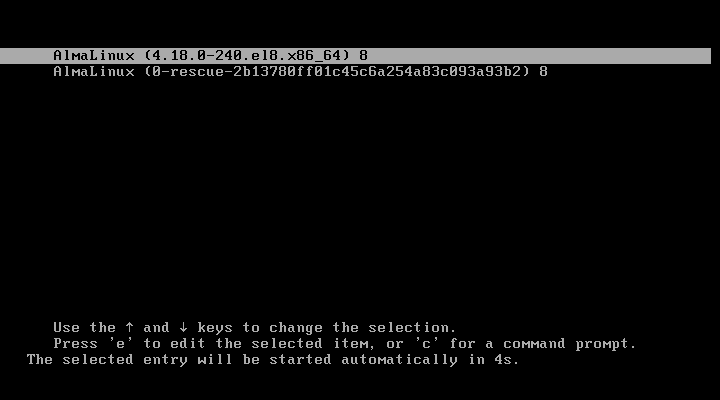
After reboot, the computer system will display the GRUB boot menu. Press <ENTER> or wait for 5 sec timeout.
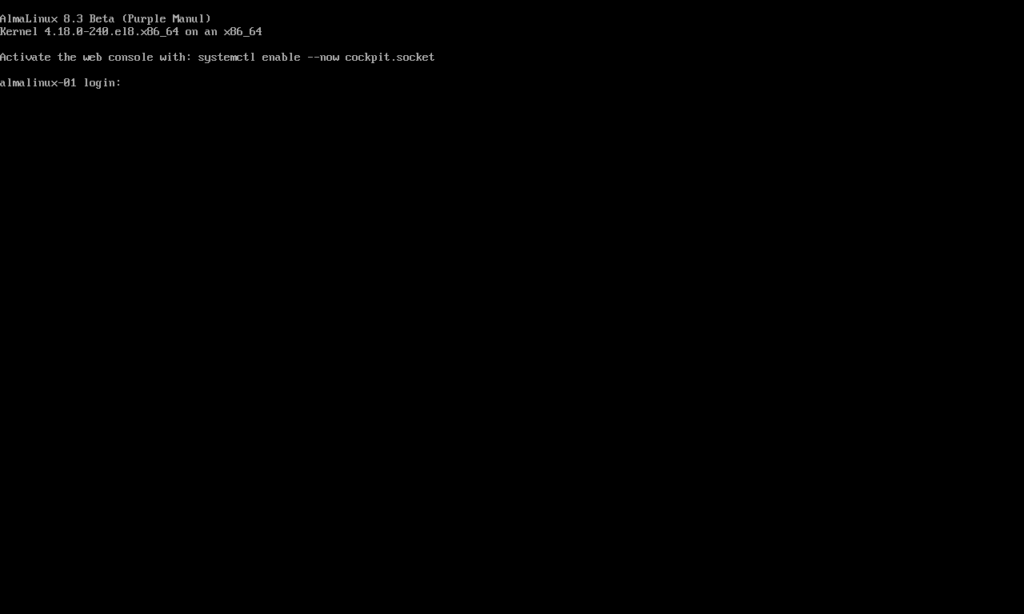
After operating system startup, you will see the Linux Commandline (CLI) based login prompt on your computer screen.
Enable Cockpit Web UI in AlmaLinux 8
Login as root user.
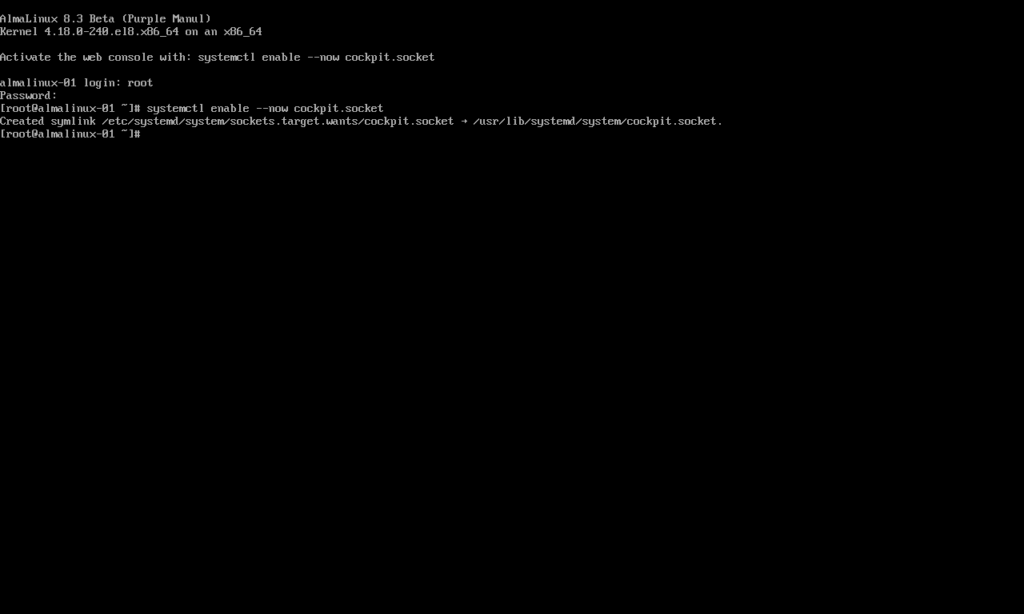
Enable Cockpit web UI by executing systemctl command at Linux Bash prompt.
The Cockpit service is by default enabled in AlmaLinux firewall. Therefore, no firewall configurations are required right now.
Access Cockpit Web UI
Open URL https://almalinux-01.centlinux.com:9090/ in a web browser.
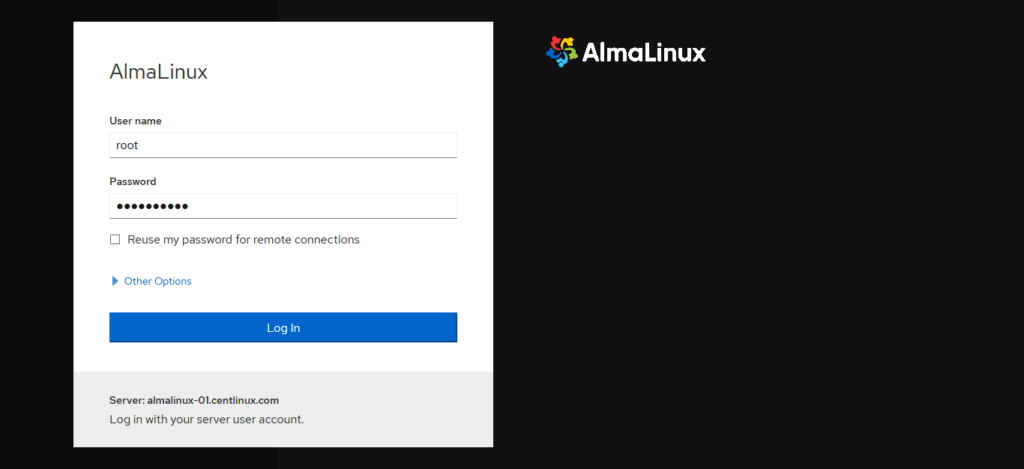
Login as root user.
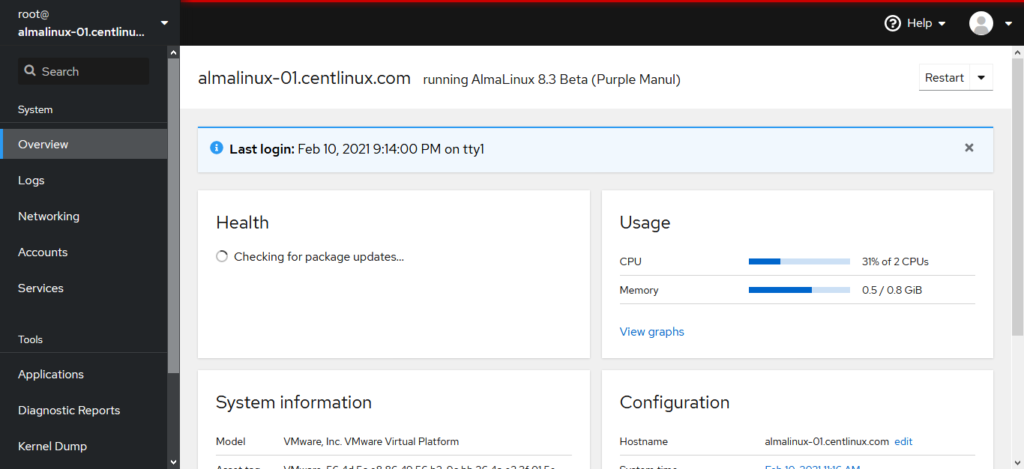
After successful login, you will reach at the dashboard of the Cockpit Web UI. You can perform many administrative tasks from here.
The Linux Programming Interface: A Linux and UNIX System Programming Handbook
$59.34 (as of July 4, 2025 20:44 GMT +00:00 – More infoProduct prices and availability are accurate as of the date/time indicated and are subject to change. Any price and availability information displayed on [relevant Amazon Site(s), as applicable] at the time of purchase will apply to the purchase of this product.)Frequently Asked Questions (FAQs)
1. What is a minimal installation of AlmaLinux 8?
A minimal installation of AlmaLinux 8 includes only the essential packages and services required to run the operating system, without additional software or graphical interfaces. It is ideal for servers or environments where resource efficiency is critical.
2. How do I perform a minimal installation of AlmaLinux 8?
During the AlmaLinux 8 installation process, select the “Minimal Install” option from the software selection screen. This will install only the base system and necessary utilities, leaving out unnecessary packages.
3. What are the benefits of a minimal installation?
A minimal installation reduces system resource usage, improves security by limiting the attack surface, and simplifies maintenance by including only the essential components needed for operation.
4. Can I add software after a minimal installation?
Yes, you can install additional software packages after the minimal installation using the dnf package manager. For example, use dnf install <package-name> to add specific tools or applications as needed.
5. Is a minimal installation suitable for beginners?
A minimal installation is best suited for advanced users or administrators who are comfortable working with command-line tools. Beginners may find it challenging due to the lack of a graphical interface and pre-installed software.
Final Thoughts
In conclusion, performing a minimal installation of AlmaLinux 8 ensures a lightweight, efficient, and secure server setup tailored to your specific needs. This approach minimizes resource usage and potential vulnerabilities, providing a solid foundation for further customization and application deployment.
From setting up scalable AWS solutions to managing complex Linux environments, I’ve got you covered. Visit my Fiverr profile to get started.


Leave a Reply
You must be logged in to post a comment.