Learn how to install Centreon on CentOS 8 with this detailed guide. Follow step-by-step instructions to set up this powerful open-source monitoring solution for your IT infrastructure. #centlinux #linux #centreon
Table of Contents
What is Centreon?
Centreon is an open-source IT infrastructure monitoring solution designed to provide comprehensive visibility into the performance and health of an organization’s IT environment. It enables businesses to monitor their networks, systems, applications, and services, ensuring that they operate efficiently and reliably.
Key Features of Centreon:
- Comprehensive Monitoring: Centreon supports monitoring of a wide range of devices and services, including servers, network equipment, databases, applications, and cloud services.
- Real-Time Alerts: The platform offers real-time alerting capabilities, notifying administrators of issues as they arise so they can take immediate action.
- Customizable Dashboards: Centreon provides customizable dashboards that allow users to visualize key metrics and performance indicators in a user-friendly manner.
- Scalability: Designed to scale from small environments to large, complex infrastructures, Centreon can handle thousands of monitored devices and services.
- Extensible: With a modular architecture, Centreon can be extended through plugins and integrations, allowing it to adapt to specific monitoring needs.
- Reporting and Analytics: The platform includes robust reporting and analytics features, helping users to analyze historical data and identify trends over time.
- Open-Source and Enterprise Editions: While the core of Centreon is open-source, there are also enterprise editions available that offer additional features and support.
Use Cases for Centreon:
- Network Monitoring: Ensuring network devices such as routers, switches, and firewalls are functioning correctly.
- Server Monitoring: Keeping track of server performance, resource utilization, and uptime.
- Application Monitoring: Monitoring the availability and performance of critical applications and services.
- Cloud Monitoring: Overseeing cloud resources and services to ensure they meet performance and availability standards.
Centreon is particularly useful for IT administrators and managers who need to maintain high levels of operational performance and uptime, quickly identify and resolve issues, and plan for future capacity and infrastructure needs. Its ability to integrate with various tools and systems makes it a versatile choice for diverse IT environments.
Environment Specification
We are utilizing a minimal Red Hat Enterprise Linux 8 virtual machine, meticulously configured with the following specifications to ensure an optimal and lightweight setup for this tutorial. This setup provides the foundational environment necessary for deploying and testing various configurations and applications effectively.
- CPU – 3.4 Ghz (2 cores)
- Memory – 2 GB
- Storage – 20 GB
- Operating System – Red Hat Enterprise Linux 8.5
- Hostname – centreon-01.centlinux.com
- IP Address – 192.168.116.243 /24
This minimal installation ensures a streamlined environment, reducing overhead and allowing precise control over installed packages. It’s an ideal setup for testing and deploying enterprise-level applications, as it provides a stable and secure foundation. Whether you’re following this guide to learn or implement changes, these specifications will help you replicate the steps effectively.
Recommended Training: Nagios | Ultimate IT monitoring guide with EyesOfNetwork from Tech Academy

Update your Linux Server
Connect with centreon-01.centlinux.com as root user by using a ssh client.
Build cache for installed yum repositories.
# dnf makecache
Update existing software packages in your Linux Server by using dnf command.
# dnf update -y
If the above command updates your Linux Kernel, then you should reboot your Linux server with new Kernel.
# reboot
After successful reboot, verify the versions of your Linux operating system and Kernel.
# cat /etc/redhat-release
Red Hat Enterprise Linux release 8.5 (Ootpa)

# uname -r
4.18.0-348.7.1.el8_5.x86_64
TP-Link AXE5400 Tri-Band WiFi 6E Router (Archer AXE75)- Gigabit Wireless Internet Router, ax Router for Gaming, VPN Router, OneMesh, WPA3
$149.99 (as of February 27, 2025 18:15 GMT +00:00 – More infoProduct prices and availability are accurate as of the date/time indicated and are subject to change. Any price and availability information displayed on [relevant Amazon Site(s), as applicable] at the time of purchase will apply to the purchase of this product.)Installing Centreon Prerequisites
The Centreon unattended installation script is good enough for installing all necessary prerequisites.
This applies to CentOS Linux, Rocky Linux and AlmaLinux.
However, in case of Red Hat Enterprise Linux (RHEL) 8 you have to manually install EPEL (Extra Packages for Enterprise Linux) before executing Centreon installation script.
You can execute following dnf command to install EPEL on your Linux server.
# dnf install -y https://dl.fedoraproject.org/pub/epel/epel-release-latest-8.noarch.rpm
Install Centreon on CentOS 8
Download and execute Centreon installation script by executing following command at Linux Bash prompt.
# curl -L -s https://raw.githubusercontent.com/centreon/centreon/master/unattended.sh | sh
2022-01-14 09:47:23-05:00 - WARN - No provided operation : default value [install] will be used
2022-01-14 09:47:23-05:00 - WARN - No topology provided : default value [central] will be used
2022-01-14 09:47:23-05:00 - WARN - No version provided : default value [21.10] will be used
2022-01-14 09:47:23-05:00 - WARN - No repository provided : default value [stable] will be used
2022-01-14 09:47:23-05:00 - INFO - Start to execute operation [install] with following configuration parameters:
2022-01-14 09:47:23-05:00 - INFO -  topology   :        [central]
2022-01-14 09:47:23-05:00 - INFO -  version    :        [21.10]
2022-01-14 09:47:23-05:00 - INFO -  repository :        [stable]
2022-01-14 09:47:23-05:00 - WARN - It will start in [5] seconds. If you don't want to wait, press any key to continue or Ctrl-C to exit

2022-01-14 09:47:23-05:00 - INFO - Check if the system OS is supported and set the environment variables
2022-01-14 09:47:24-05:00 - INFO - Your running OS is redhat-release-8.5-0.8.el8.x86_64 (version: 8.5)
2022-01-14 09:47:24-05:00 - INFO - Setting specific part for v8 (8.5)
Repository 'codeready-builder-for-rhel-8-x86_64-rpms' is enabled for this system.
2022-01-14 09:48:30-05:00 - INFO - Remi repositories installation...

Installed:
  remi-release-8.5-2.el8.remi.noarch

Updating Subscription Management repositories.
Error: No matching repo to modify: powertools.
2022-01-14 10:01:22-05:00 - INFO - Installing PHP 8.0 and enable it
Importing GPG key 0x5F11735A:
 Userid     : "Remi's RPM repository <remi@remirepo.net>"
 Fingerprint: 6B38 FEA7 231F 87F5 2B9C A9D8 5550 9759 5F11 735A
 From       : /etc/pki/rpm-gpg/RPM-GPG-KEY-remi.el8
Importing GPG key 0x5F11735A:
 Userid     : "Remi's RPM repository <remi@remirepo.net>"
 Fingerprint: 6B38 FEA7 231F 87F5 2B9C A9D8 5550 9759 5F11 735A
 From       : /etc/pki/rpm-gpg/RPM-GPG-KEY-remi.el8
Importing GPG key 0x5F11735A:
 Userid     : "Remi's RPM repository <remi@remirepo.net>"
 Fingerprint: 6B38 FEA7 231F 87F5 2B9C A9D8 5550 9759 5F11 735A
 From       : /etc/pki/rpm-gpg/RPM-GPG-KEY-remi.el8

Installed:
  httpd-filesystem-2.4.37-43.module+el8.5.0+13064+c4b14997.noarch
  nginx-filesystem-1:1.14.1-9.module+el8.0.0+4108+af250afe.noarch
  oniguruma5php-6.9.7.1-1.el8.remi.x86_64
  php-cli-8.0.14-1.el8.remi.x86_64
  php-common-8.0.14-1.el8.remi.x86_64
  php-fpm-8.0.14-1.el8.remi.x86_64
  php-mbstring-8.0.14-1.el8.remi.x86_64
  php-xml-8.0.14-1.el8.remi.x86_64

2022-01-14 10:05:29-05:00 - INFO - Installing packages dnf-plugins-core epel-release
2022-01-14 10:05:38-05:00 - INFO - Updating package gnutls
2022-01-14 10:05:47-05:00 - INFO - Following Centreon repo will be used [centreon-stable*]
2022-01-14 10:05:47-05:00 - INFO - Systemd is running
2022-01-14 10:05:47-05:00 - INFO - Set runtime SELinux mode to [disabled]
2022-01-14 10:05:47-05:00 - WARN - Current SELinux mode is disabled. Nothing to do
2022-01-14 10:05:47-05:00 - INFO - Centreon official repositories installation...
...
...
...
2022-01-14 10:28:01-05:00 - INFO - Centreon SELinux rules are installed. Please consult the documentation https://docs.centreon.com/21.10/en/administration/secure-platform.html for more details.
2022-01-14 10:28:01-05:00 - INFO - Set runtime SELinux mode to [permissive]
2022-01-14 10:28:01-05:00 - INFO - Change SELinux config to mode [permissive]
2022-01-14 10:28:01-05:00 - WARN - Modifying /etc/selinux/config. You must reboot your machine.
2022-01-14 10:28:01-05:00 - INFO - Follow the steps described in Centreon documentation: https://docs.centreon.com/21.10/en/installation/web-and-post-installation.html
2022-01-14 10:28:01-05:00 - INFO - Centreon [central] successfully installed !

****** IMPORTANT ******
As you will need password for user MariaDB [root], random password are generated
Passwords are currently saved in [/etc/centreon/generated.tobesecured]
Random password generated for user [MariaDB user : root] is [Yjg1OTVlZjU0YmU0ZjQyM2IyZDA2YmM4]

Please save them securely and then delete this file!
The Centreon installation process is completely unattended and take a while to complete.
But the installation script configures SELinux, Linux Firewall, Systemd Services and all necessary file permissions and required settings.
Note down the MariaDB root user password and delete the password file as suggested by the Centreon installer.
# rm -f /etc/centreon/generated.tobesecured
Access Centreon: Network Monitoring Software
Open URL http://centreon-01.centlinux.com in a web browser.
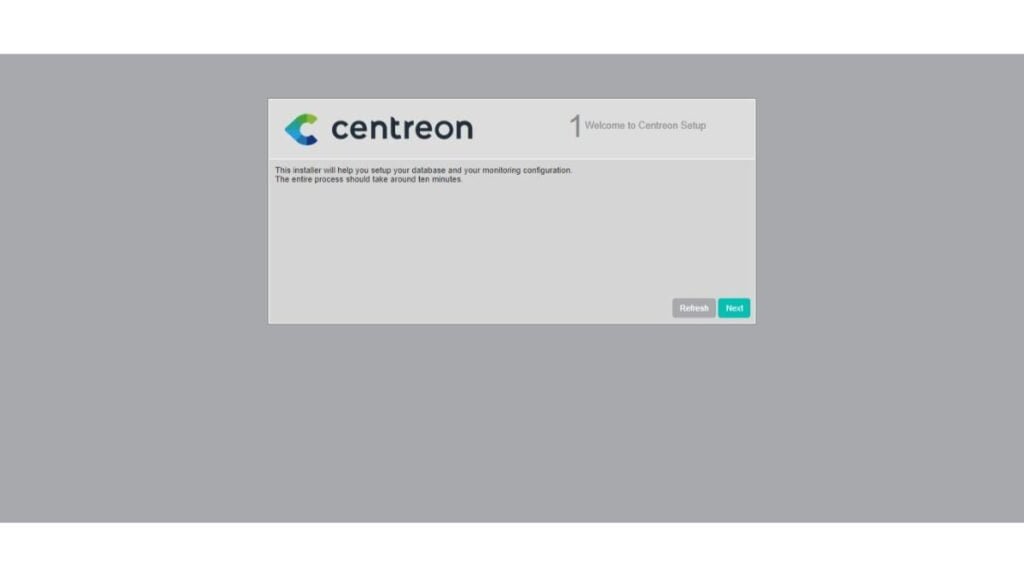
You are at the “Welcome to Centreon Setup” page, Click on “Next” button.
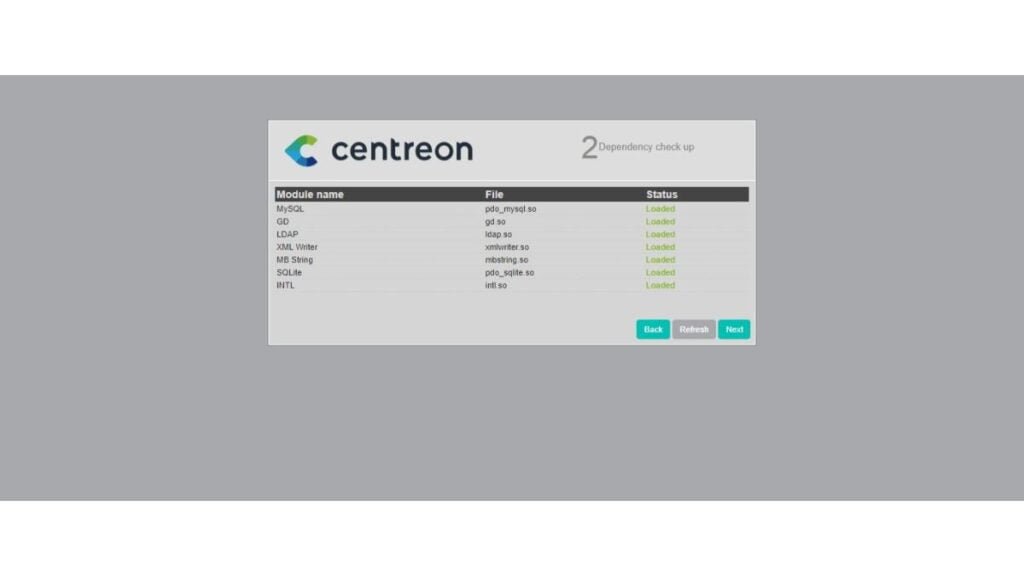
The web setup performs dependency checkup. Since, you are installing Centreon by using unattended installation script, hence all the dependencies already resolved by the installer.
Click on “Next”.
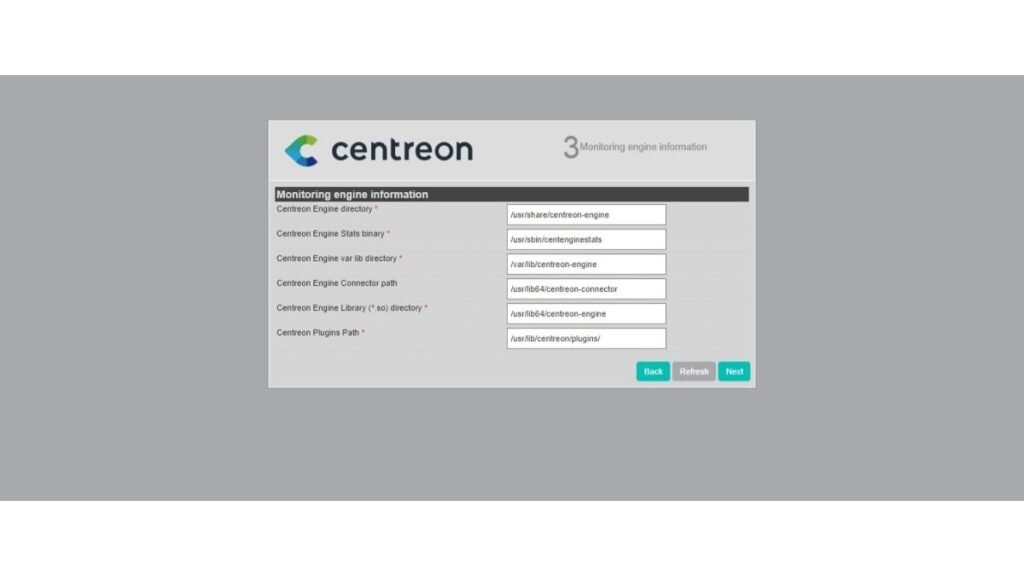
Set the Centreon monitoring engine paths or go with the default settings and Click on “Next”.
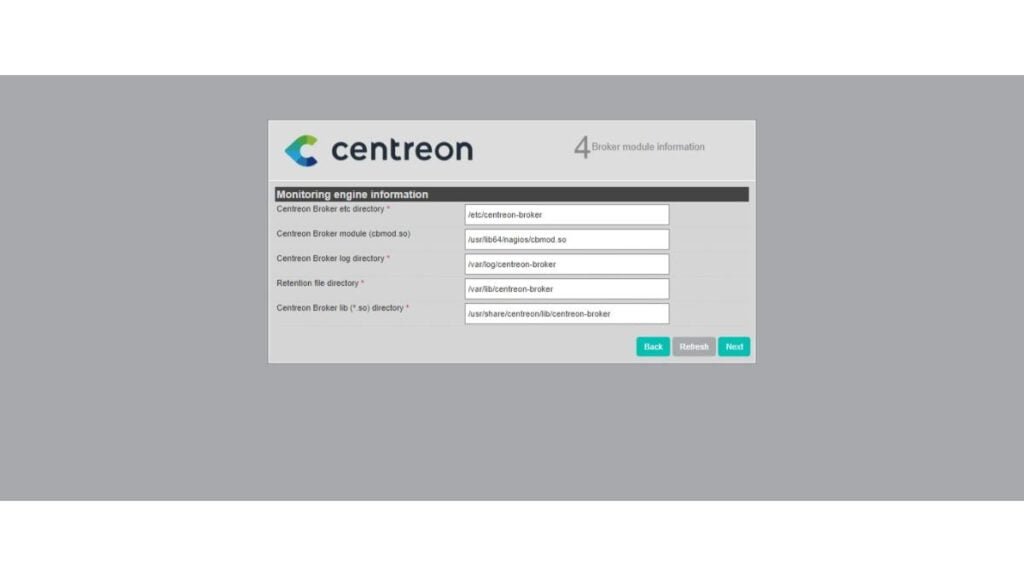
Set remaining Centreon monitoring engine paths related to Broker module or go with the default settings and Click on “Next”.
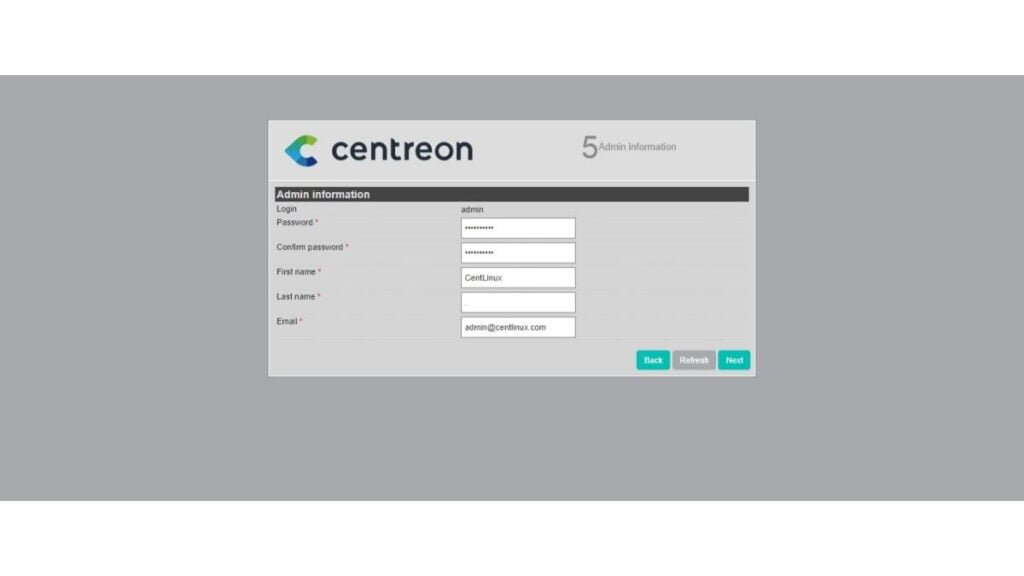
Provide Centreon admin user information. Don’t forget to set a strong password here.
Click on “Next”.
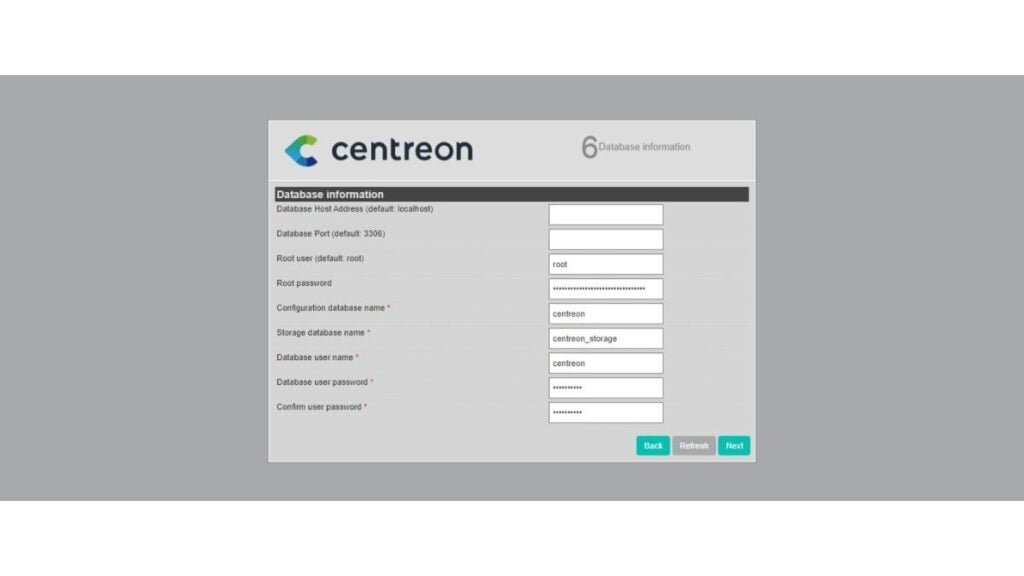
Provide the information about your MariaDB database.
The MariaDB database server is also installed by the Centreon unattended installation script.
And you have been provided the password at the end of Centreon installation.
Enter that password here in this page and click on “Next”.
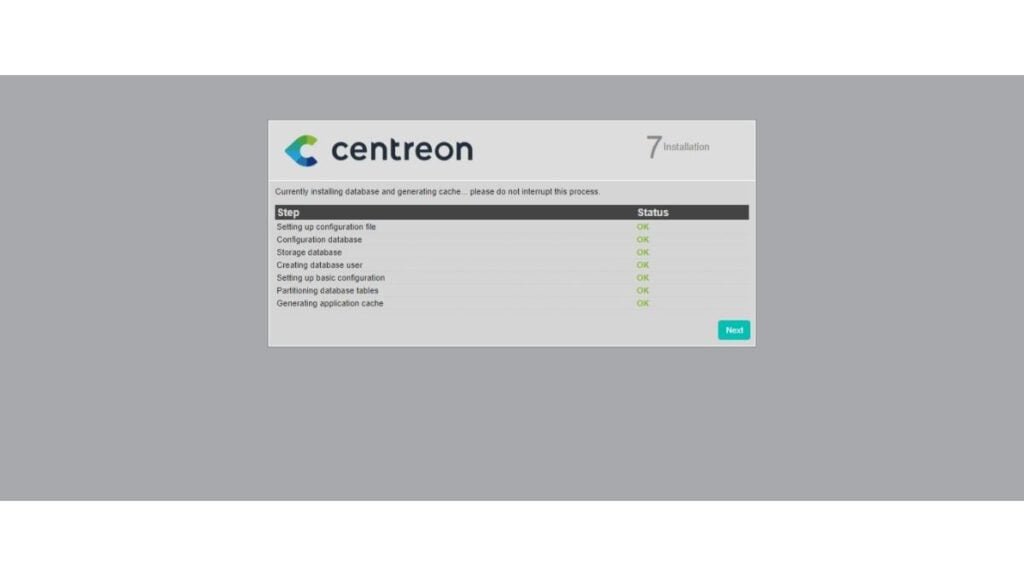
Centreon monitoring server installation is in progress.
Let it complete and then click on “Next”.
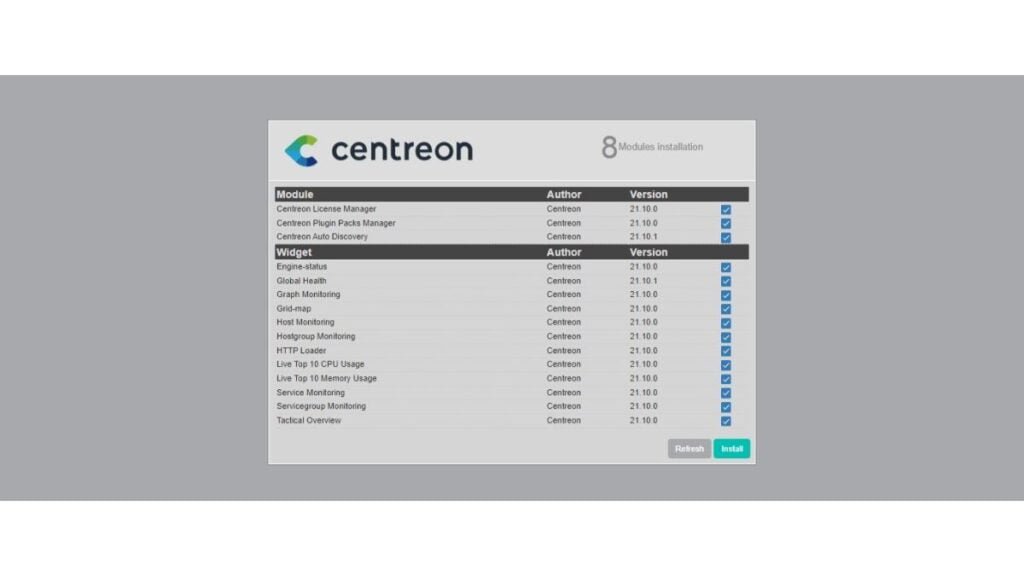
Select your required Centreon Modules and Click on “Next”.
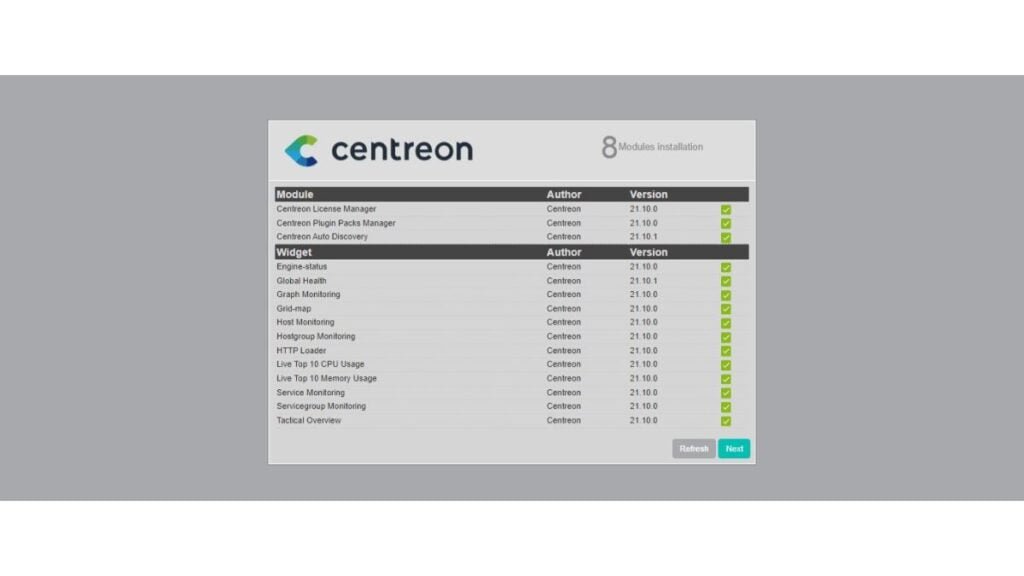
Centreon modules has been installed. Click on “Next” to continue.
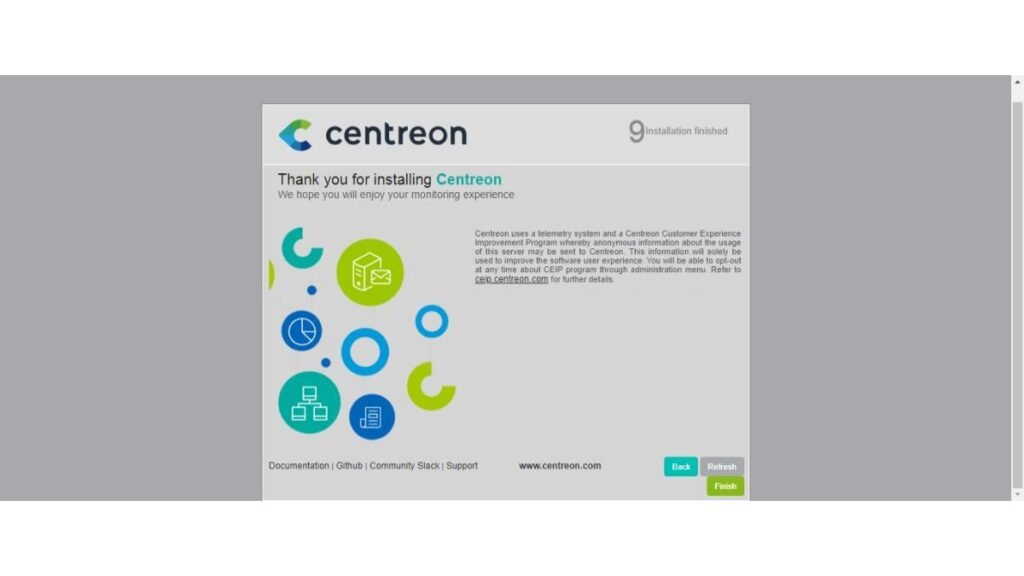
Finally you are the “Installation Finished” page. Click on Finish to end Centreon setup
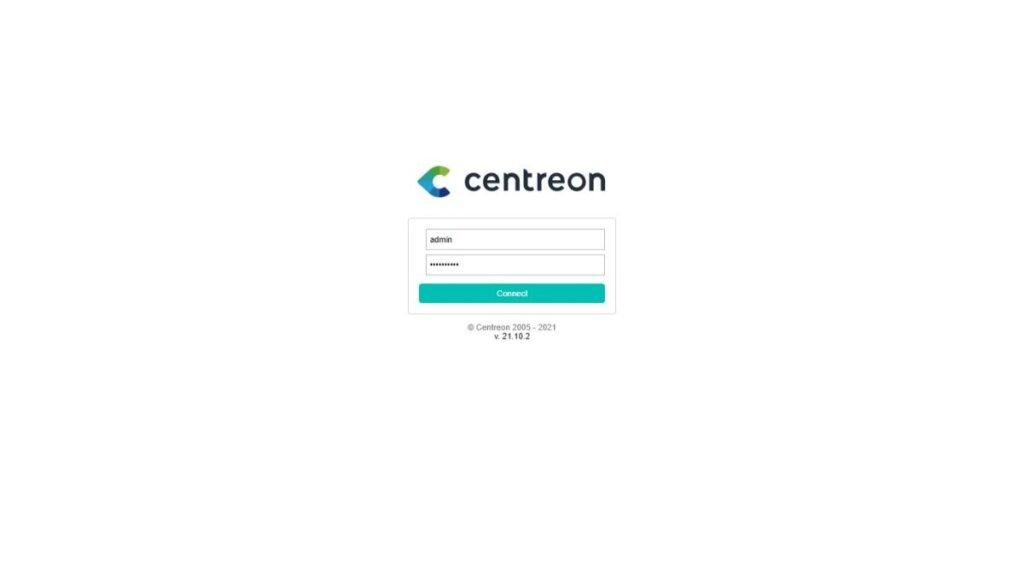
You are automatically redirected to the Centreon monitoring server login page.
Login as admin user.
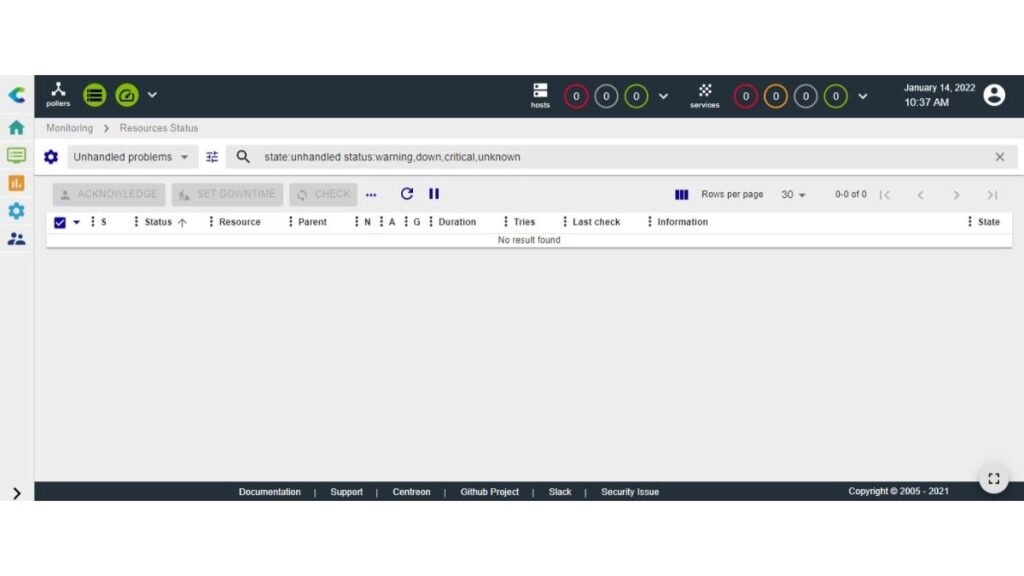
After successful login, you will reach at the Centreon monitoring server web console.
Learning Docker – A Comprehensive Guide from Beginner to Intermediate: Enhance your containerization and DevOps skills
$3.99 (as of February 27, 2025 18:09 GMT +00:00 – More infoProduct prices and availability are accurate as of the date/time indicated and are subject to change. Any price and availability information displayed on [relevant Amazon Site(s), as applicable] at the time of purchase will apply to the purchase of this product.)Final Thoughts
Installing Centreon on CentOS 8 provides you with a robust monitoring solution to oversee your IT infrastructure effectively. By following this guide, you’ve learned how to prepare your server, install the required dependencies, configure the Centreon database, and complete the web-based installation process. With Centreon in place, you can now monitor servers, networks, applications, and more through a centralized, user-friendly interface.
For further customization or integration with plugins and extensions, explore the extensive Centreon documentation. Stay proactive in maintaining and scaling your monitoring system to meet your organization’s needs.
Searching for a skilled Linux admin? From server management to security, I ensure seamless operations for your Linux systems. Find out more on my Fiverr profile!


Leave a Reply
You must be logged in to post a comment.